Being built right now.
 Headstock Part 1:
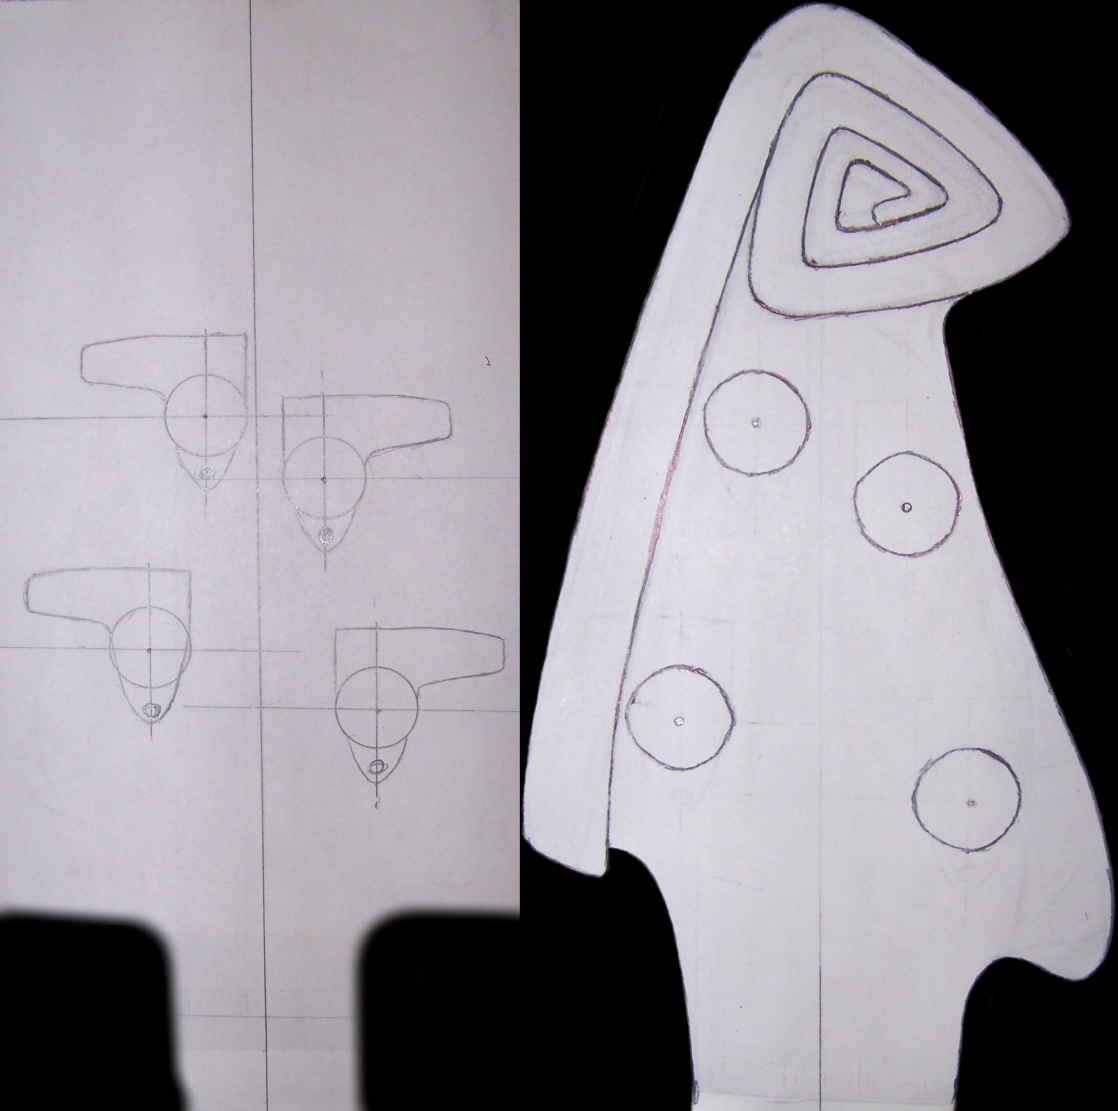
Here is the headstock and tuner layout with the "spirangle" scroll I came up with, and since I have never carved anything this detailed, I was scared to screw it up.
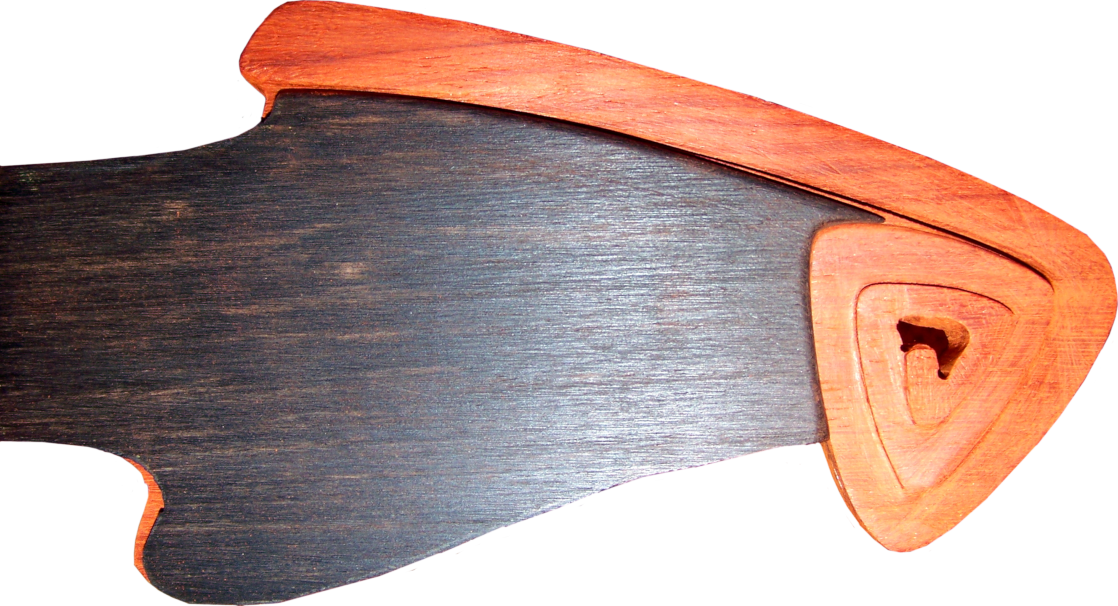
After cutting the headstock to rough shape, and recessing a portion for an ebony overlay, I glued the ebony fingerboard onto the neck.

Here is a closer look at the headstock with the shape of the scroll visible, but not yet carved.
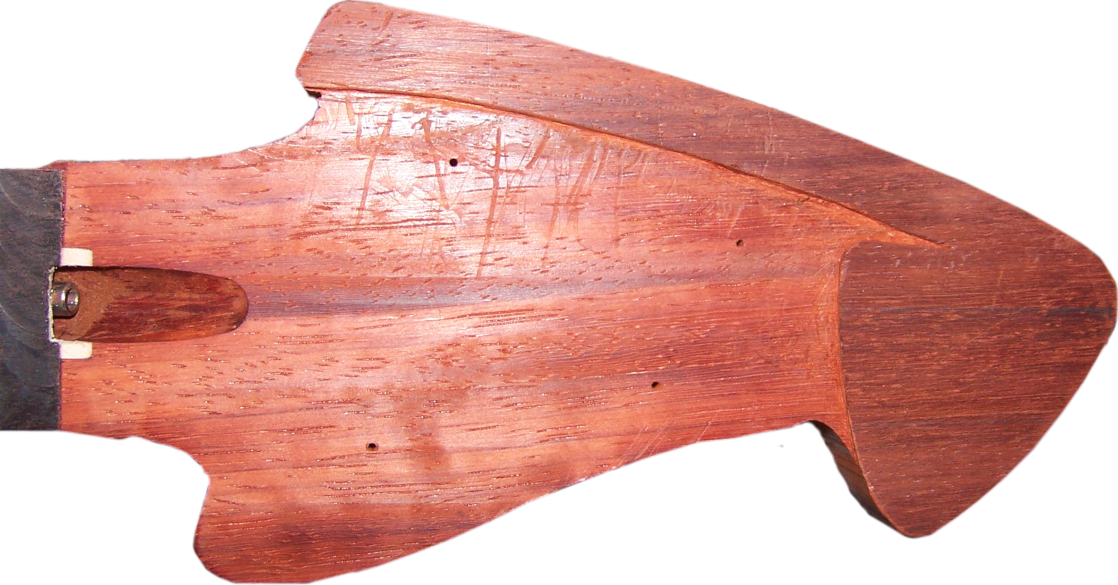
I proceeded to carve the scroll, not to final shape, but close. I cut out the headstock overlay to fit the recess, but it's not glued on here, just checking the fit, as I need to inlay my logo, and that is easier done before I glue it on.
Below is the logo inlay in the making. I decided on using green abalone and accenting it with brass, as it will go well with the gold hardware and gold colored "Evo" fret wire I chose to use on this bass.
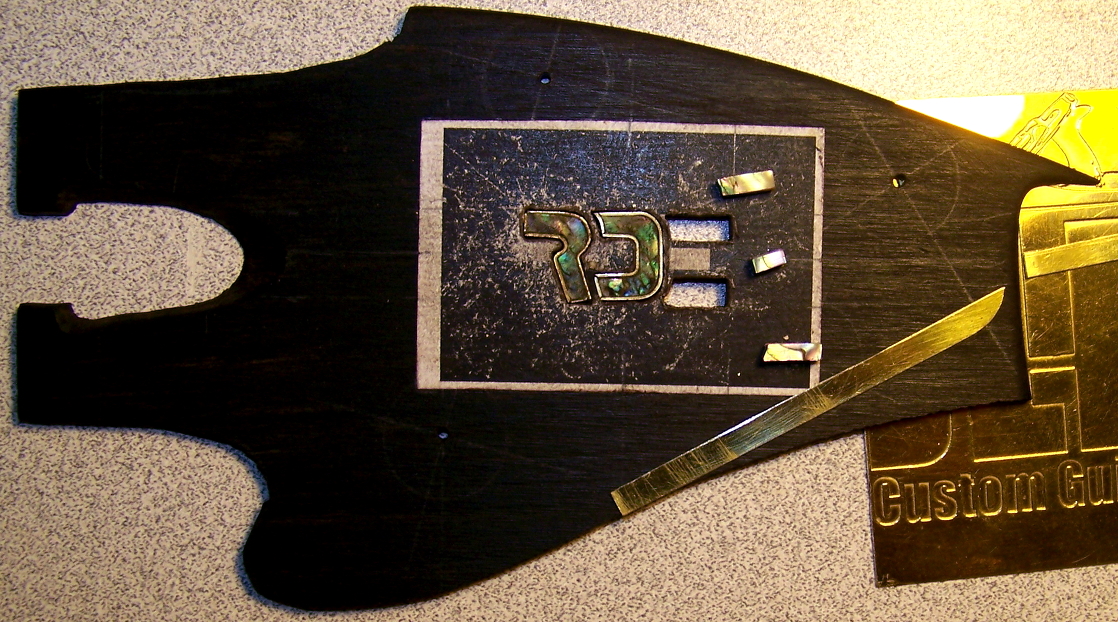
Here it is with the inlay done. It's not perfect looking at it this close up, but I still don't have enough practice, and figured abalone has a tendency to pull the coping saw blade into soft spots, and therefore off track. I also think I need to get better blades more suitable for this kind of work.
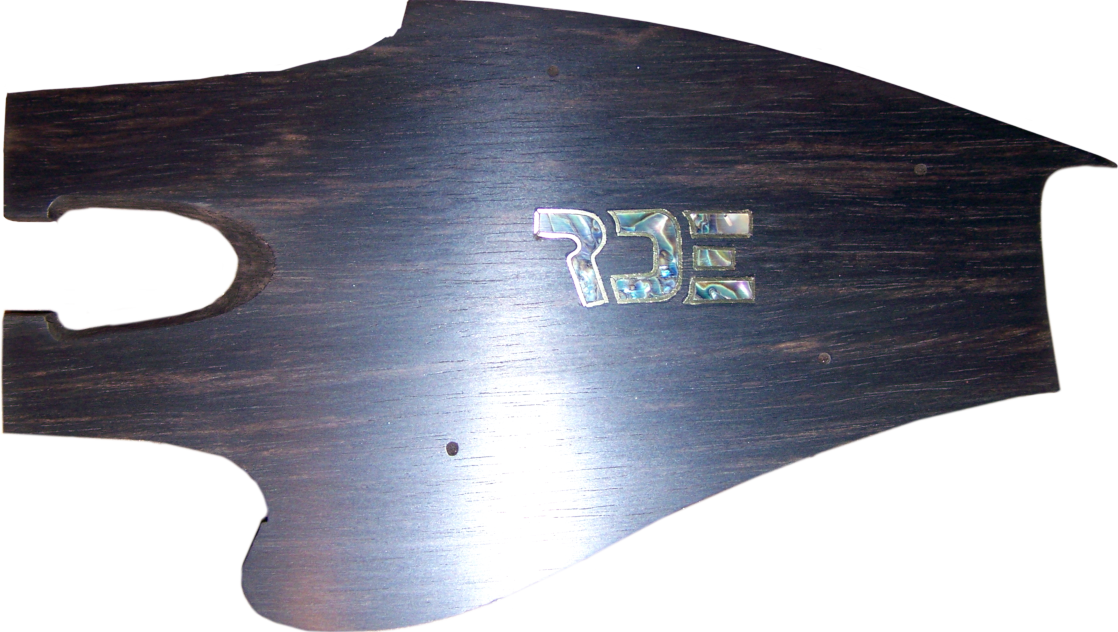
With the overlay glued in place, the scroll pops out. The nails in the tuner indexing holes I used to hold it into place during gluing are still there, just in case you are wondering if I nailed it on, the answer is no. As you can see I still need to refine some parts of the headstock, but no rush, plenty of other work to do in making the whole instrument.
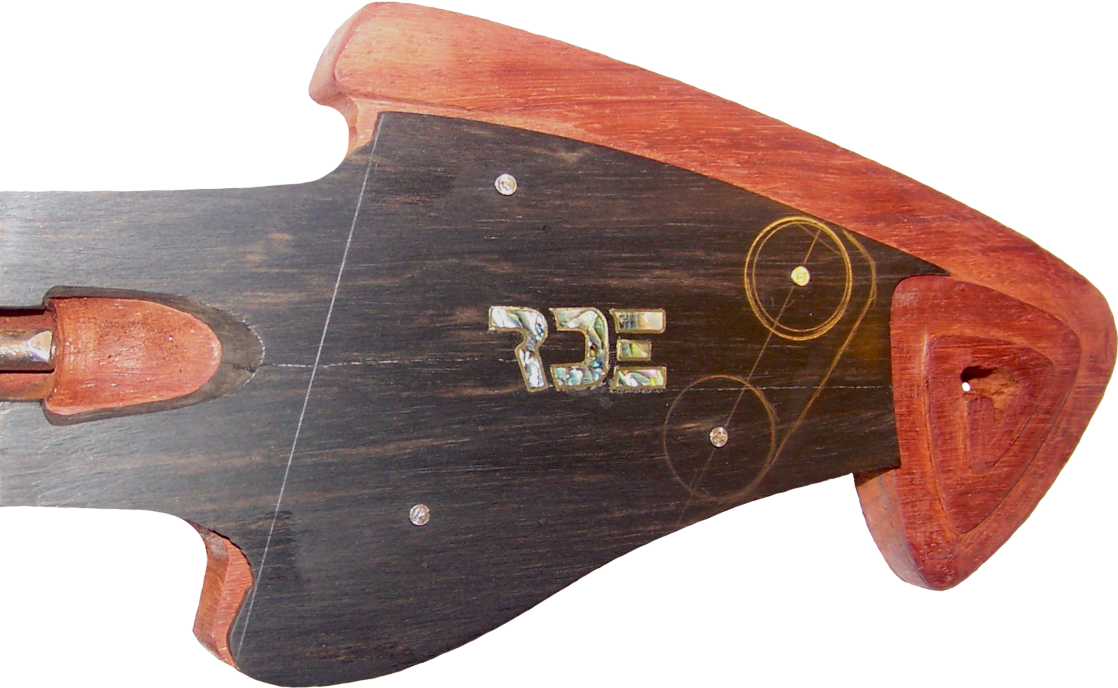
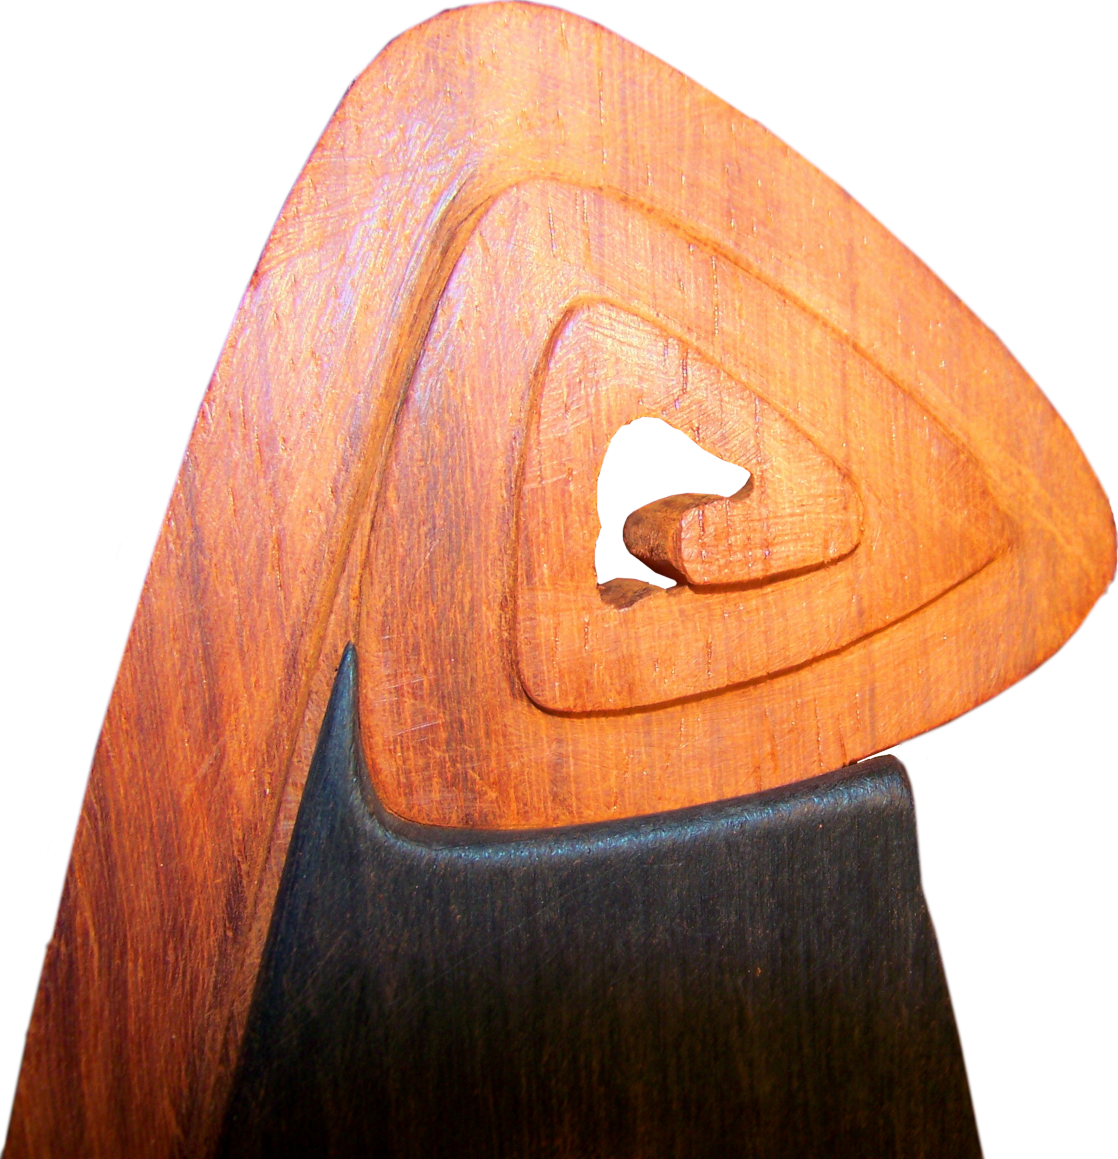
Before I start another chapter and turn my attention to making the body, I give you a closeup of the yet unrefined spirangle scroll.
