Being built right now.
 Introduction:
I always thought it was strange how much guitar makers cling to tradition over technology, as if better technology won't improve their instruments, but dismiss tradition where it makes no technical difference, like in aesthetics. Carved scrolls come to mind: What ever happened to them? I know that guitars were never classed as high as orchestral instruments and therefore were always approached more utilitarian by their makers, but let's face it, the war is over, no need to make all guitars and basses easy to afford anymore, there's room for all kinds.
I have toyed with the idea of adding scrolls to some of my instruments, well carvings in general. So, in designing a bass, and drawing a scroll, it just looked to familiar for my taste and I wanted to bring it into the modern age, but after trying to manipulate it for a while, I didn't come up with anything outstanding, and so, set it aside for the moment. One day while using the same drawing program, and looking at the drawing tools, the spiral was just below the triangle tool, and it just hit me: What if I just combined the two, and what would it be called? Calling it the obvious, a triangular spiral, sounded boring, and it deserved it's own designation, and the simple way of doing that is to combine parts of both words spiral and triangle, which gave me either "triral" or "spirangle", with the latter being slightly more telling! So here it is, the Spirangle Bass!

The following is not instructional, just an overview of some parts of the building process, and stages within. As usual, I didn't take pictures of every detail, as when I am on a roll and concentrating, it is not a priority, nor does it come to mind.
 Neck Work Part 1:
To make the neck, I started with a 1" thick board of paduke wood. This wood is very hard and stiff, but don't be fooled by the name paduke, as it is not a species, but rather a name given to many woods of varying species found all around the globe with an orange coloring most likely due to a high concentration of iron in the soil. Not all paduke is this stiff and hard, nor this dark. When I found it at my local hard wood supplier, I tapped on it, but not to find a specific sound for the instrument, but to give me an idea of its physical properties. Not only did it sound right, but it nearly busted my knuckles! Outch.
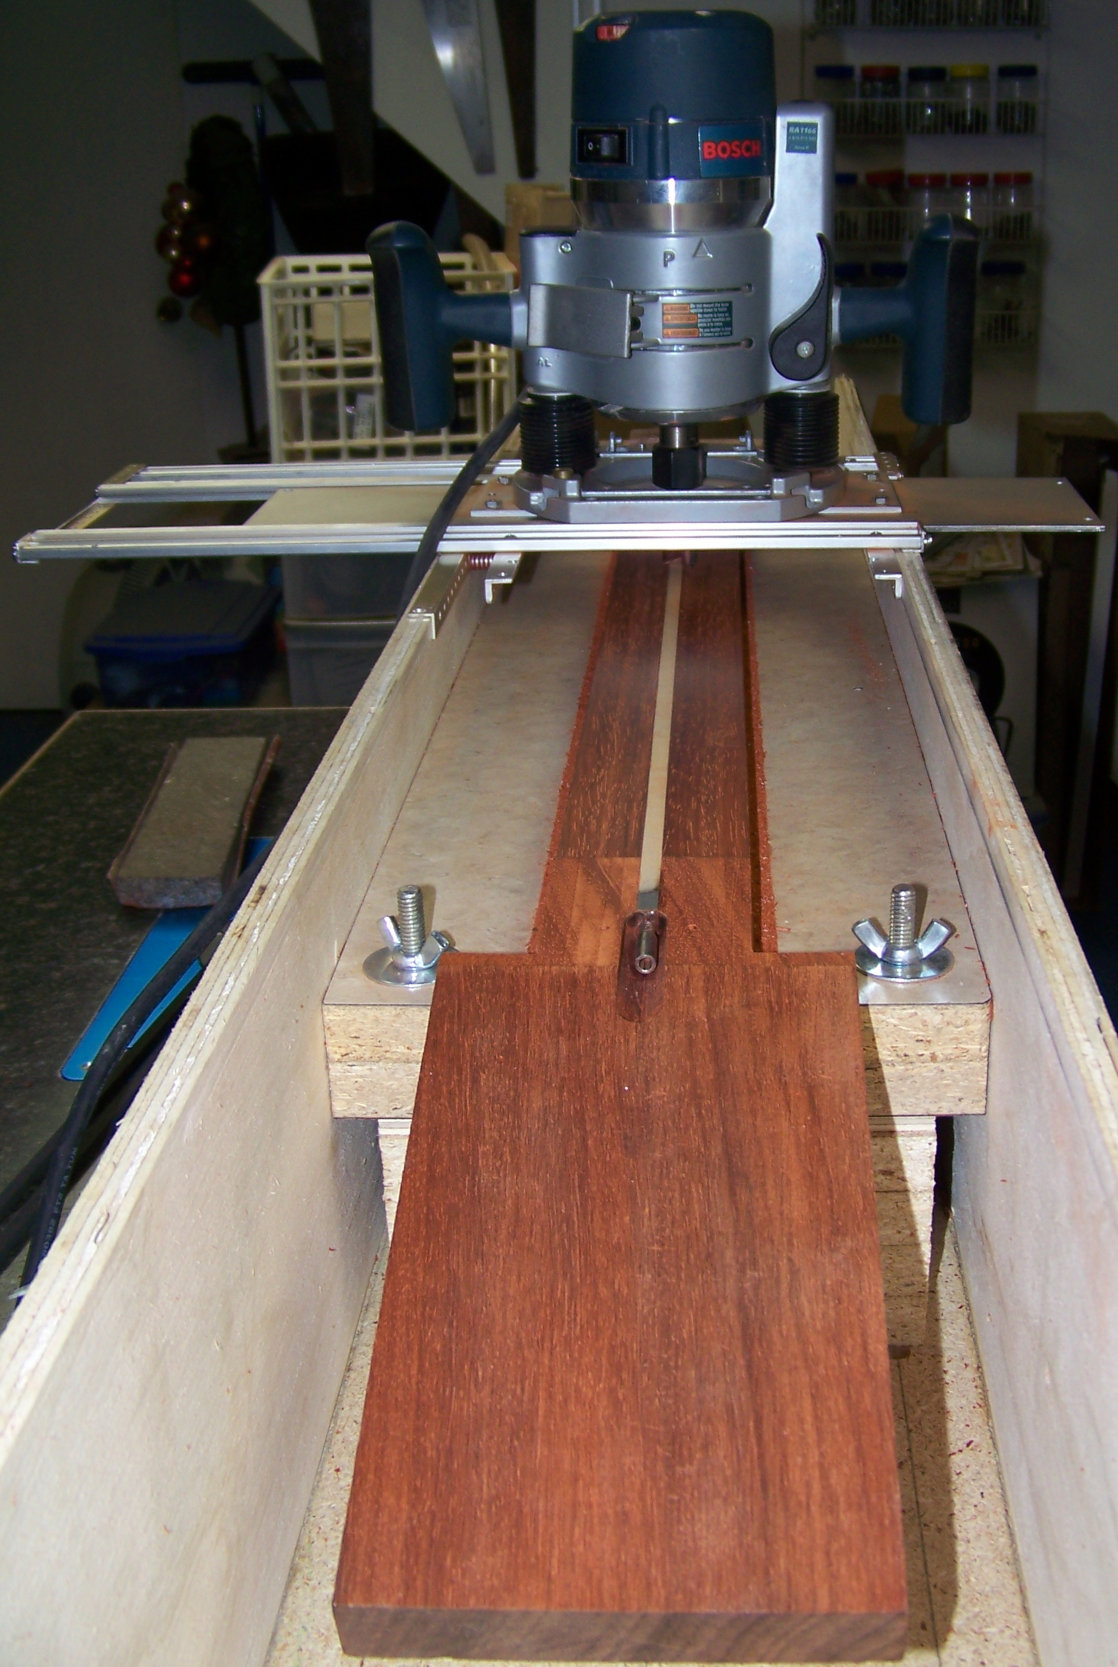
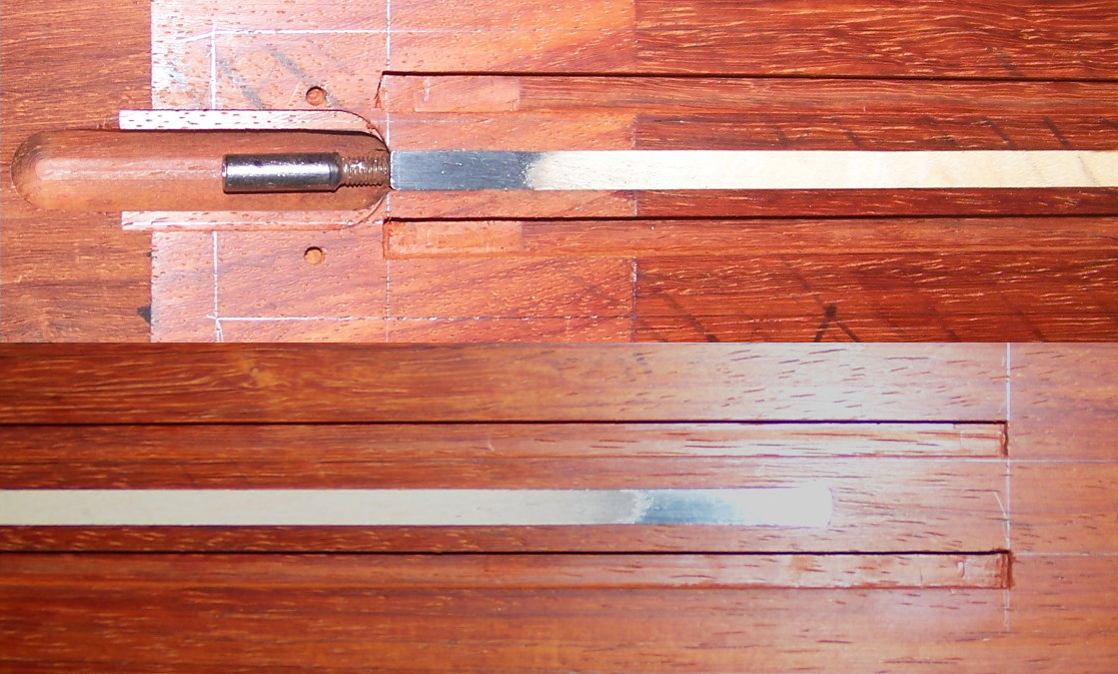
I cut a scarf joint into it, and glued the cutoff back on flipped around, to make the angled back head stock. After that I planed the surface flat where the fingerboard will rest, cut a groove for the truss rod, inserted the truss rod with a thin piece of maple above it. Here is a picture of it in my home made router jig, I used to plane the billet and cut the truss rod groove, where I am cutting the maple flush. After that I cut slots for the carbon fiber reinforcements using the same jig.

Here are the grooves for the carbon fiber reinforcements:

And here they are glued into the groves:

Here is how I tapered the fingerboard with a straight edge and a Dremel tool. It's not a quick way to do it, but I had not made a more elaborate but easier to use router jig to do it yet. That's on a long to do list. Now if you are wondering why I don't just use a template, well, I want to be able to make any width and taper I desire. I don't limit myself to what everyone else already does. Without being limited to predetermined dimensions I can make instruments vor people with big or small hands... That's where the router jig I have yet to make comes in, it will allow me to taper fingerboards of any length to any taper, and easier as well as faster than this method.
