 Bob's body shop:
Well unlike a hot rod shop for cars I can not just drill strategically placed holes in this guitar body to reduce the weight, but there are a few things I can do to lose some of the heft. I can also do some sculpting and give it a more esthetically pleasing shapeand can bring it closer to Mr. X's original plan.
The body being a ridiculous 2 inches thick is a starting point, and at the time I got started I had not used my Japanese Ryoba saw with its 9.5" blade to its full potential on a larger piece of wood. And so I have found a victim, and this is what slicing 5/32nd of an inch off of the back of a solid body guitar looks like:
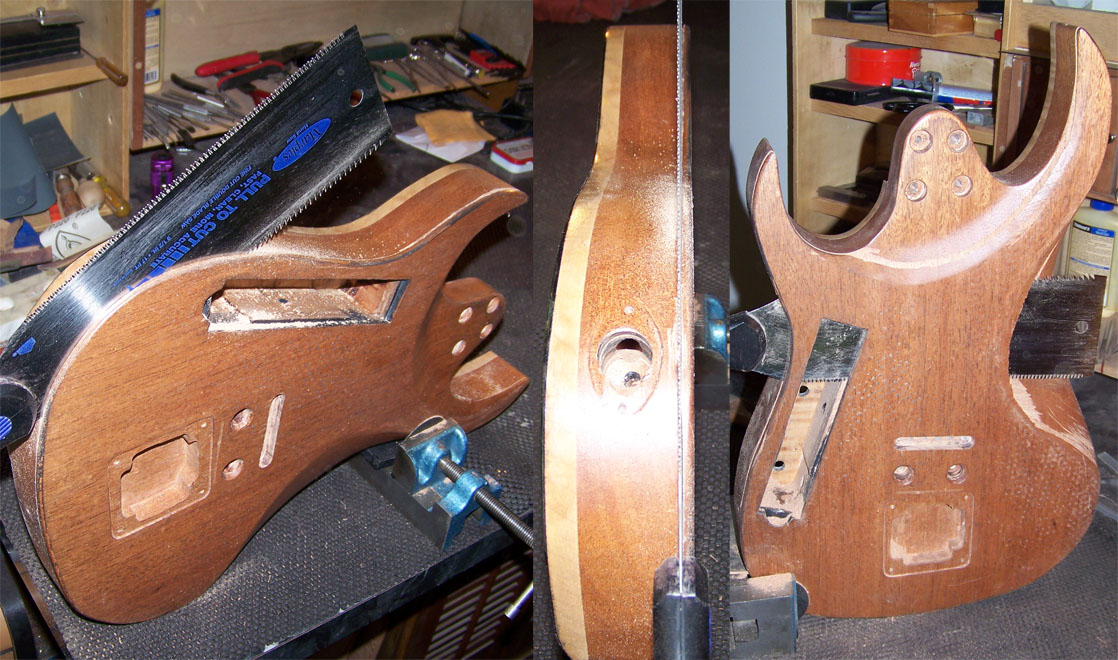
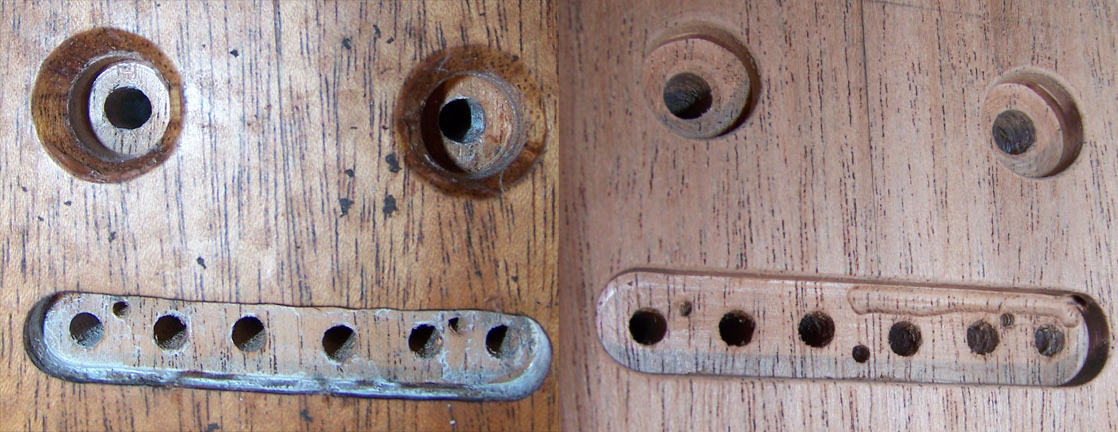
After that major operation, the recesses for the back parts of the bridge hardware need to be redone, this time straight instead of crooked. I also drilled a hole to the control cavity for a ground wire, and cut out a wire channel that the bare wire can follow to the center, and bend over some wood into another hole to hold it in place. Between the beginning of the bend to the hole is where the solder reinforced ground wire gets squished down by the string holding plate, making good and lasting contact. It could not be soldered directly to the plate, as the faux gold plating did not allow for it. Compare the before with the after:
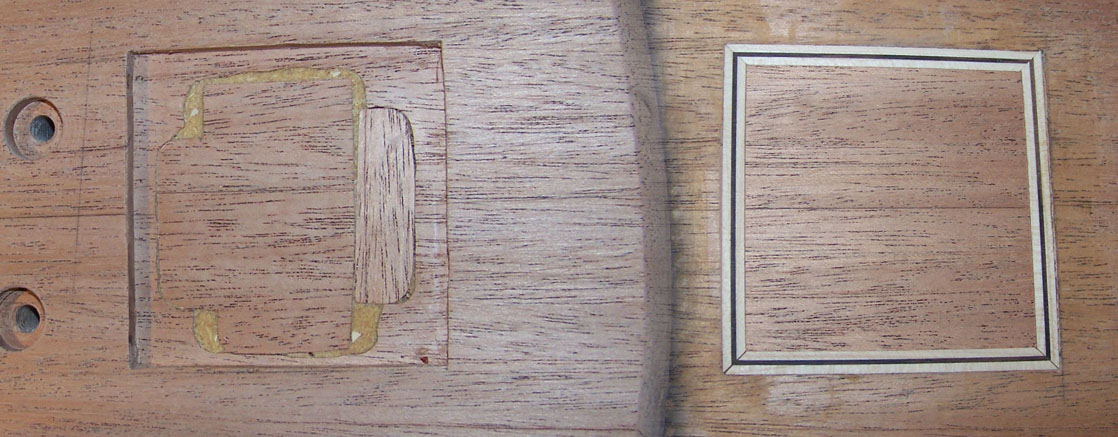
Next to the silly worthless rout in the back, which I filled with some scrap wood pieces and shavings, and then sealed with a few pieces of mahogany, retaining the center seam. I also bound it in maple and rosewood with mitered corners, but have to admit it's not my best work.
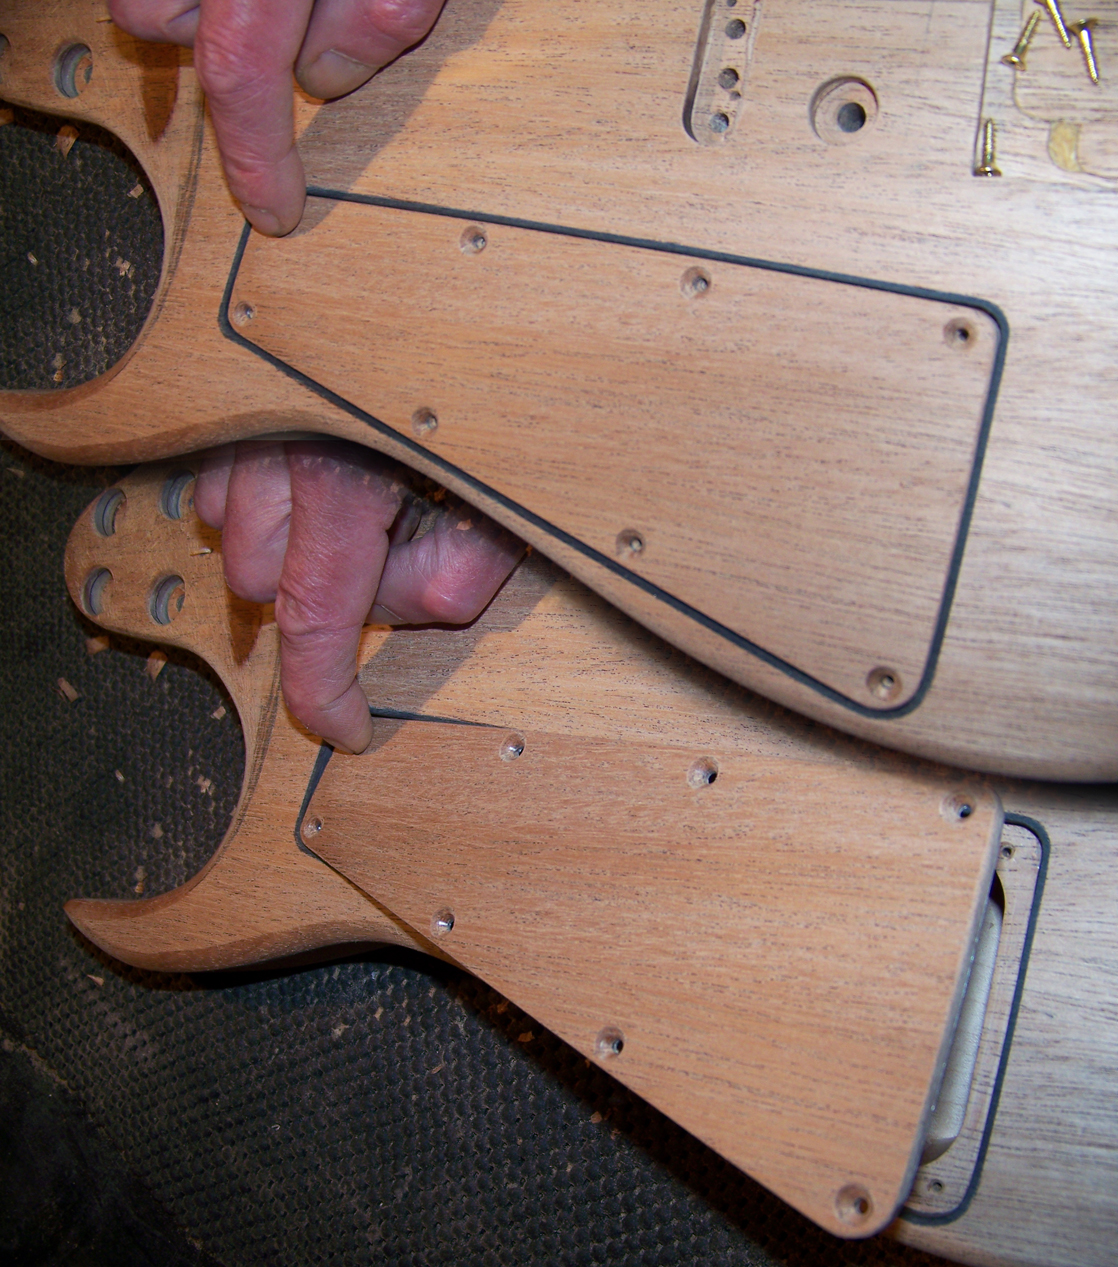
Since the control cavity was goofy, I decided to rebuild it too. By making it much wider, and cutting it to a good depth, some more weight was removed, and it now has room for future upgrades. The cutout being so close to the side of the guitar, and considering the direction of the wood grain, I reinforced it with another ply of mahogany with its grain running all the way through its length. I made a lid out of a piece of the mahogany I sliced off of the back, to match the grain pattern of its surroundings as close as possible, adding an aluminum reinforced back plate. I bound the cavity and Viola':
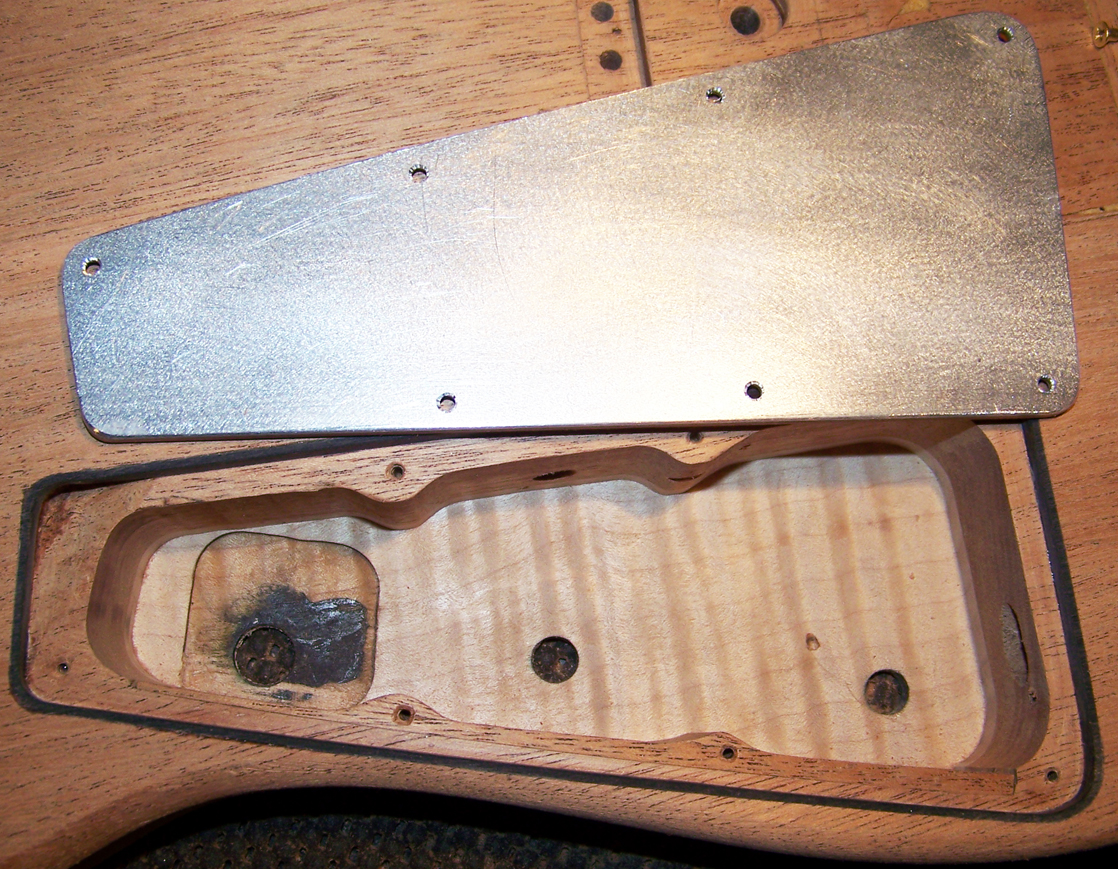
Since JLH's version had a special way of fastening and closure, I thought I might do something similar, but more refined: A lid that after removing the screws, opens with a light push into one corner.
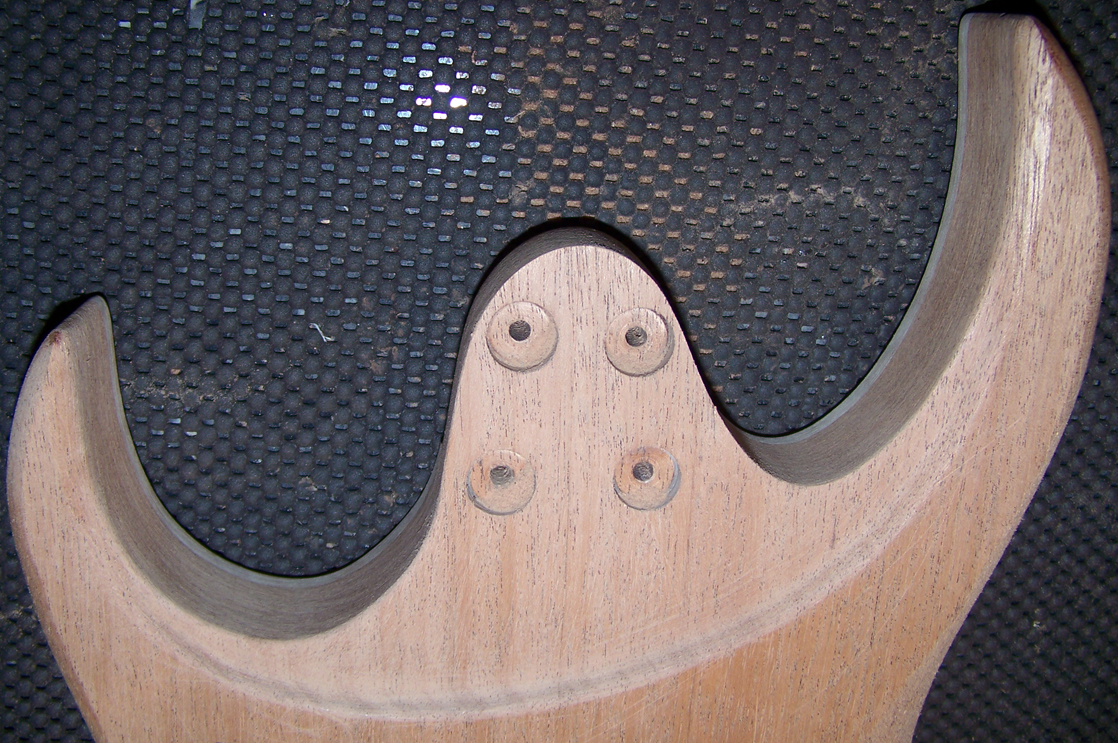
Finally I re-contoured most of the body to round out the curves, reworked the belly recess and arm cutaway, getting rid of the whale hump, and re-sculpted the carving between the two horns in the back: I also added radii to all of the edges, as JLH had left them sharp, ugly and uncomfortable. I was toying with sculpting an arch in the top and binding the whole thing, but lacked the tools to do all that in a timely manner.
