Making Z-Holes:
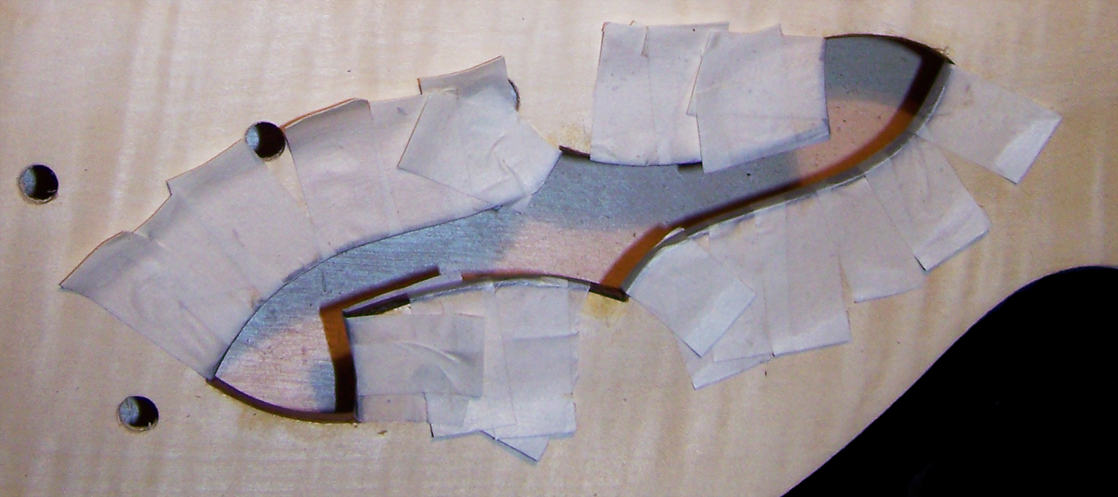
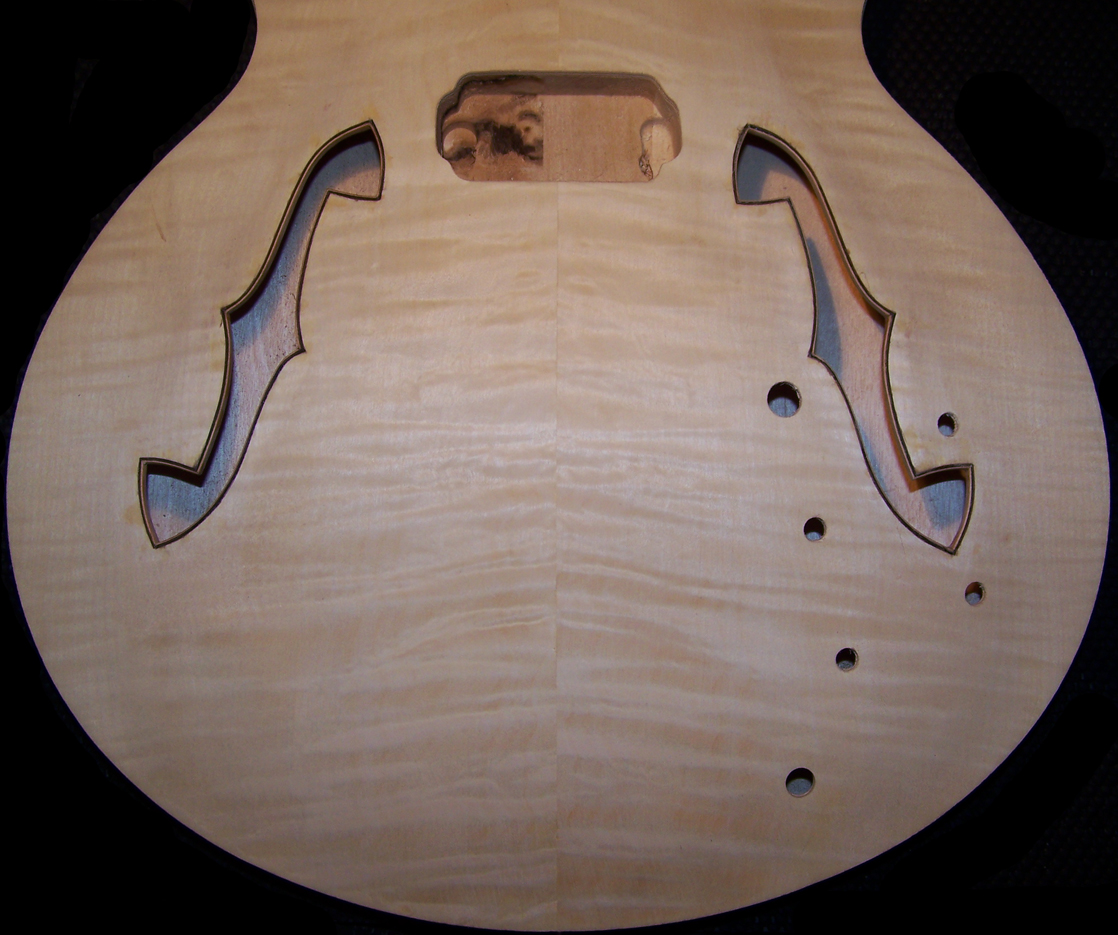
As I was looking at the f-holes prior to binding them, I realized that I did not like their shape very much, and went to the drawing board to come up with something better. Lets face it, typical f-holes are a dime a dozen, and these were not as well detailed as others I have seen, and screamed for improvement. After toying around with it for a while I came up with this design. Here is a preliminary drawing over one of the existing f-holes, which I had to modify slightly because the originals were uneven and askew (go figure):

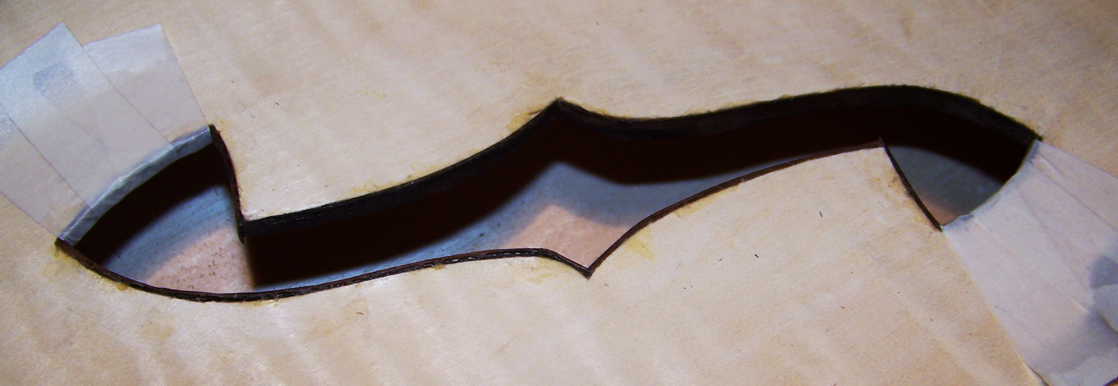
Here with parts of the first of two layers of ebony drying:
Here with parts of the second layer of ebony drying:
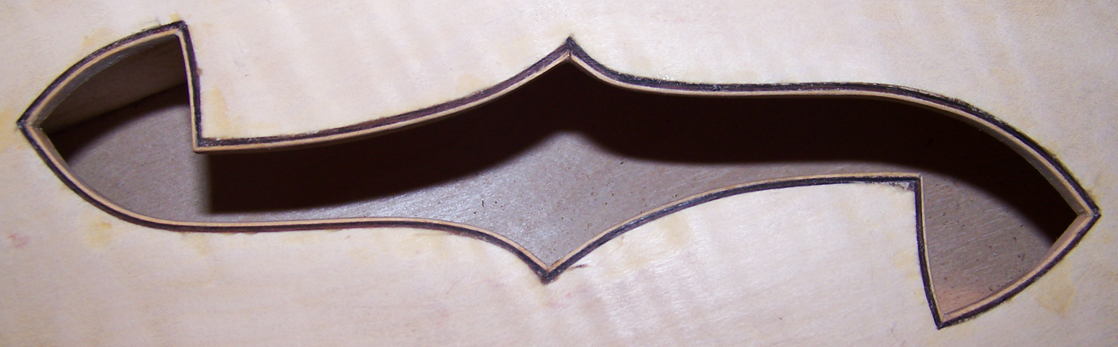
After the final layer of maple, dried and roughly leveled to the top:
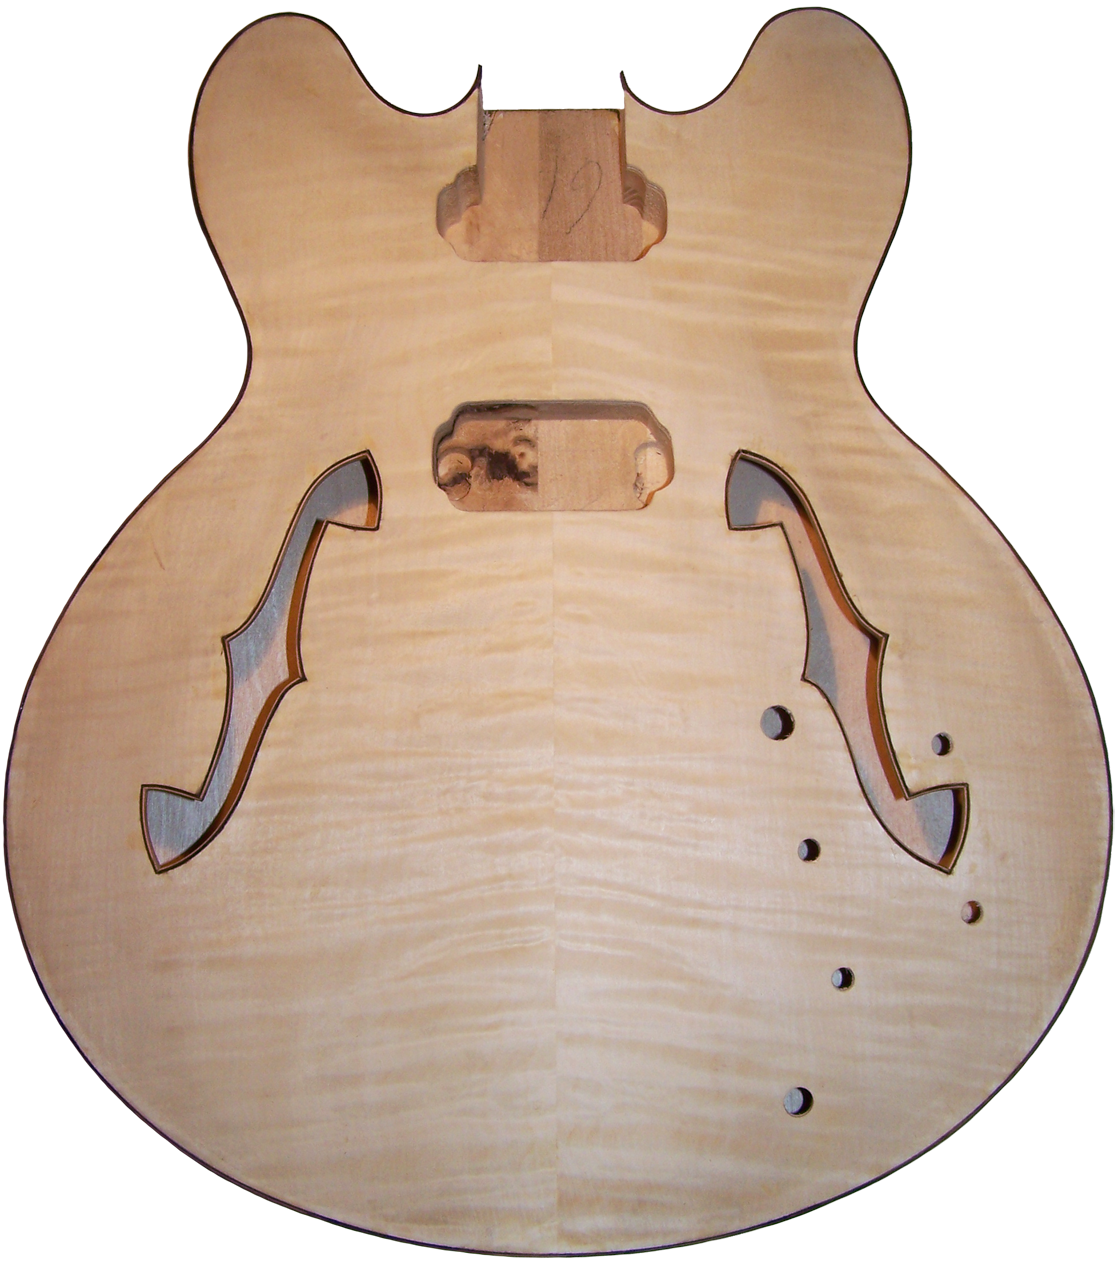
Finally two artistic and perpendicular f-holes of my own design, I call them Z-holes. I hate to brag, but cant help myself, because that is one wicked design, and well worth the time spent and blood I shed busting my knuckles, while sanding the under sides flush!
Binding The Body:
First I thought I would bind the body with ebony only, but because there were some spots on the plywood sides where the outer most layer was paper thin, and not even glued down all the way, I decided to bind it with the ebony first, and then add a layer of maple veneer over the entire sides of the body, which will look great if everything goes according to plan.
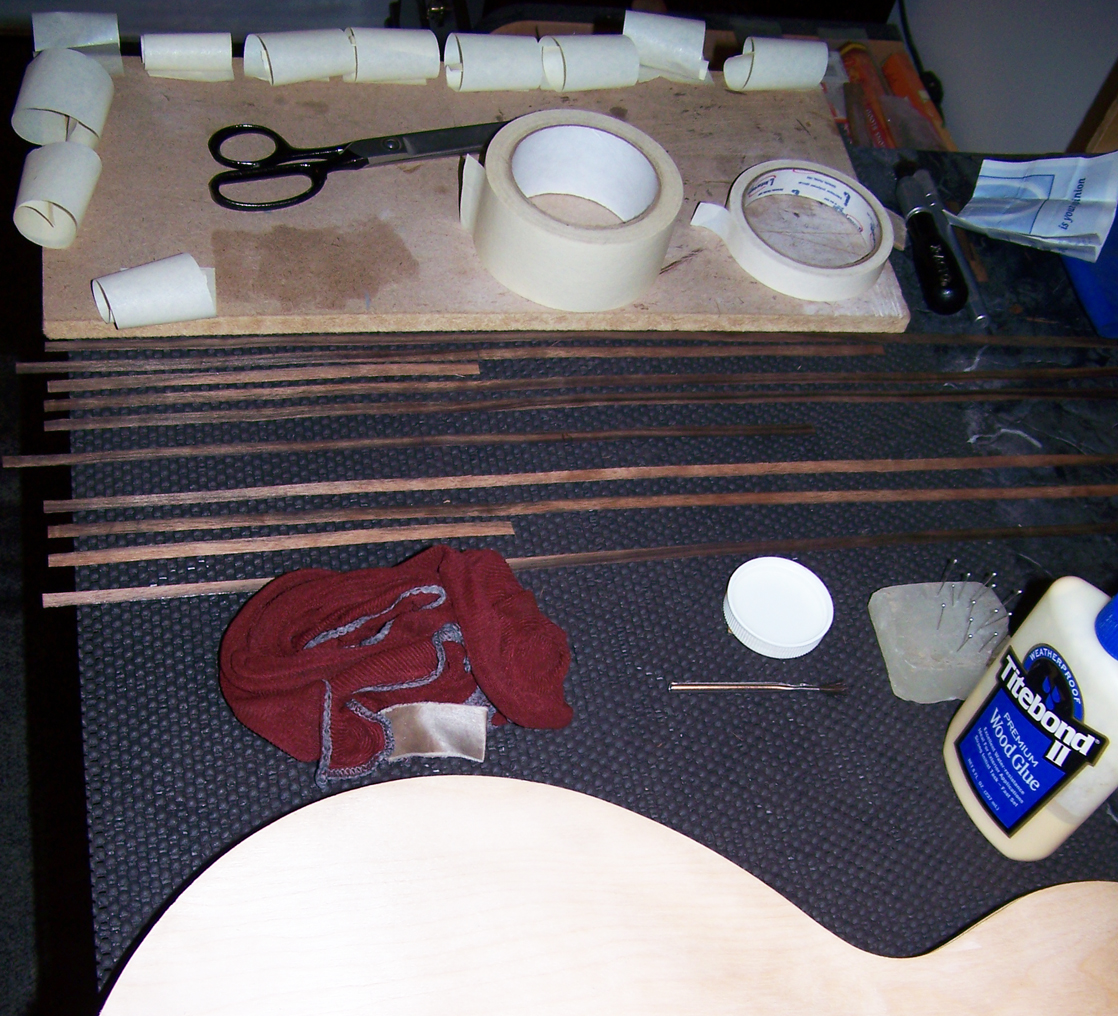
I cut strips of the ebony veneer to size, and because it will require three layers, I had to do it in a way where the color variations will hide the layers as best as possible. I got everything ready for the binding procedure, which I will do one side at a time back first and then in front. Once started there is no stopping until done, as all three layers have to be bent, glued, and taped into place together in order to get the best results. Here is everything laid out for the procedure:
Here is what one side looks like as the glue is drying:
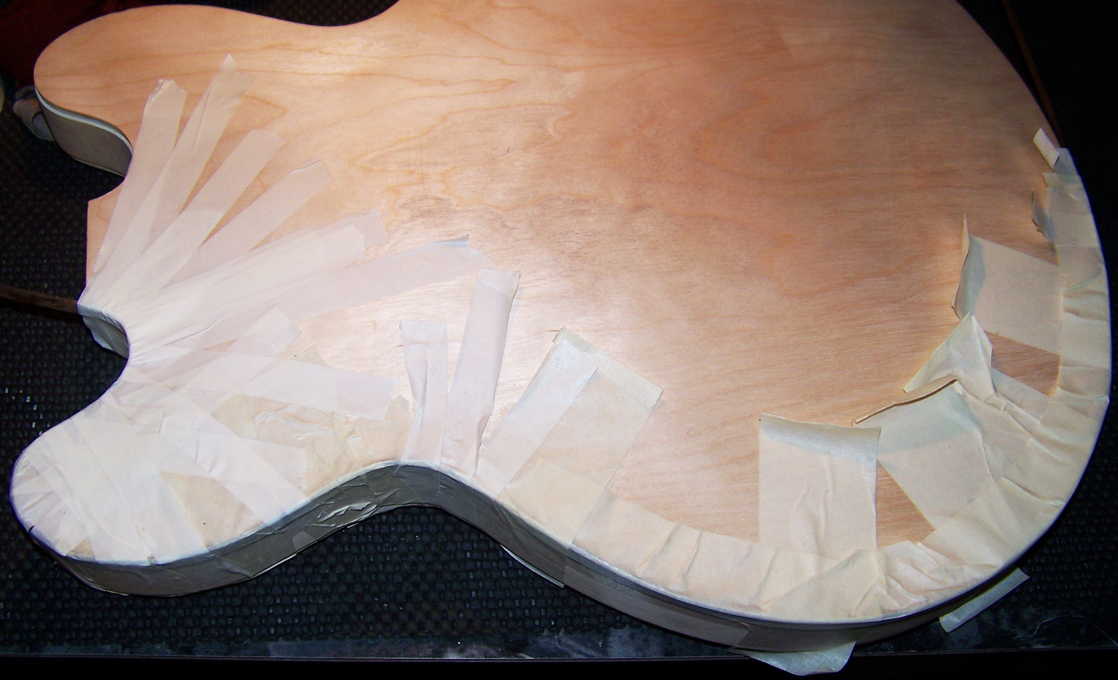
Here is the second side drying, and You can see the first side in place:
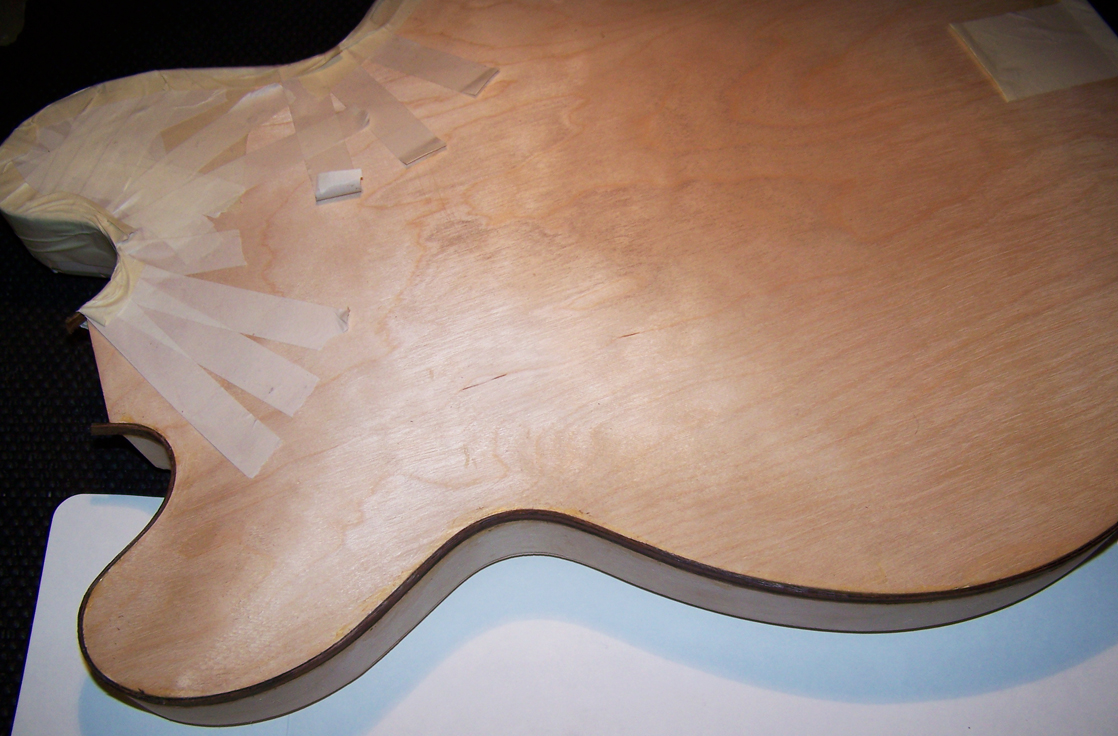
After that I added the rest at the neck joint, and did the top. Finally I scraped it down roughly to meet the edge of the top and back. They will be sanded more precisely along with the rest of the body and binding prior to adding a finish. Here is the top, bound and scraped: