Being built right now
 Making the Neck part 1:
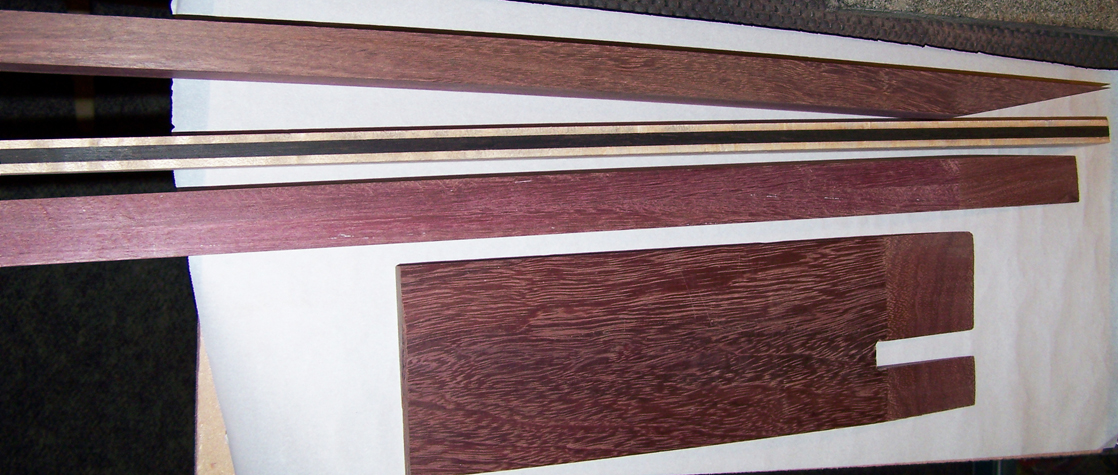
Below are the pieces of wood for the neck ready to be put together. As you can see the center laminate of ebony and birds eye maple are already glued together. Harder to see is that the two longer beams of purple heart are made of two pieces each. Laminating the purple heart wood allowed me to use it quarter-sawn for added strength, which may sound a little silly as I have carbon fiber reinforcements too, that will make the neck stronger than a grizzly bears shin bone.
Here they are assembled and being glued together:
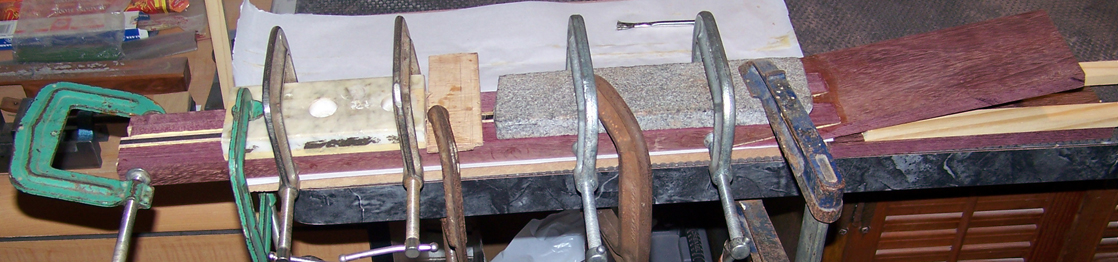
All glued together, you can see why there was a notch cut out of the headstock: The center laminate runs into, but not all the way through the headstock. It will add more strength to the already strong luthiers scarf joint. I had to repair too many gibson Les paul Headstocks already, and don't want my instruments to be flawed in that way.


Here is the 24 fret fingerboard already slotted, the two way truss rod, and the carbon fiber reinforcements.

The truss rod in its slot with a thin maple veneer over it's top being glued in.

The maple veneer gets planed flush.
Now for strength and better sustain, the carbon fiber reinforcements. You may notice that they are offset from center. By doing this, the bass strings will have more relief than the treble strings (as they should), which is a good thing not found on most instruments. If you have seen this on Keisel instruments (predicessor to Carvin), I made that design all the way back in the 80's before carvin started using carbon fiber. The relief will be corrective with truss rod adjustments, regardless of the gauges used. I also added some maple over the truss rod adjustment head so glue can not penetrate when attaching the fingerboard.

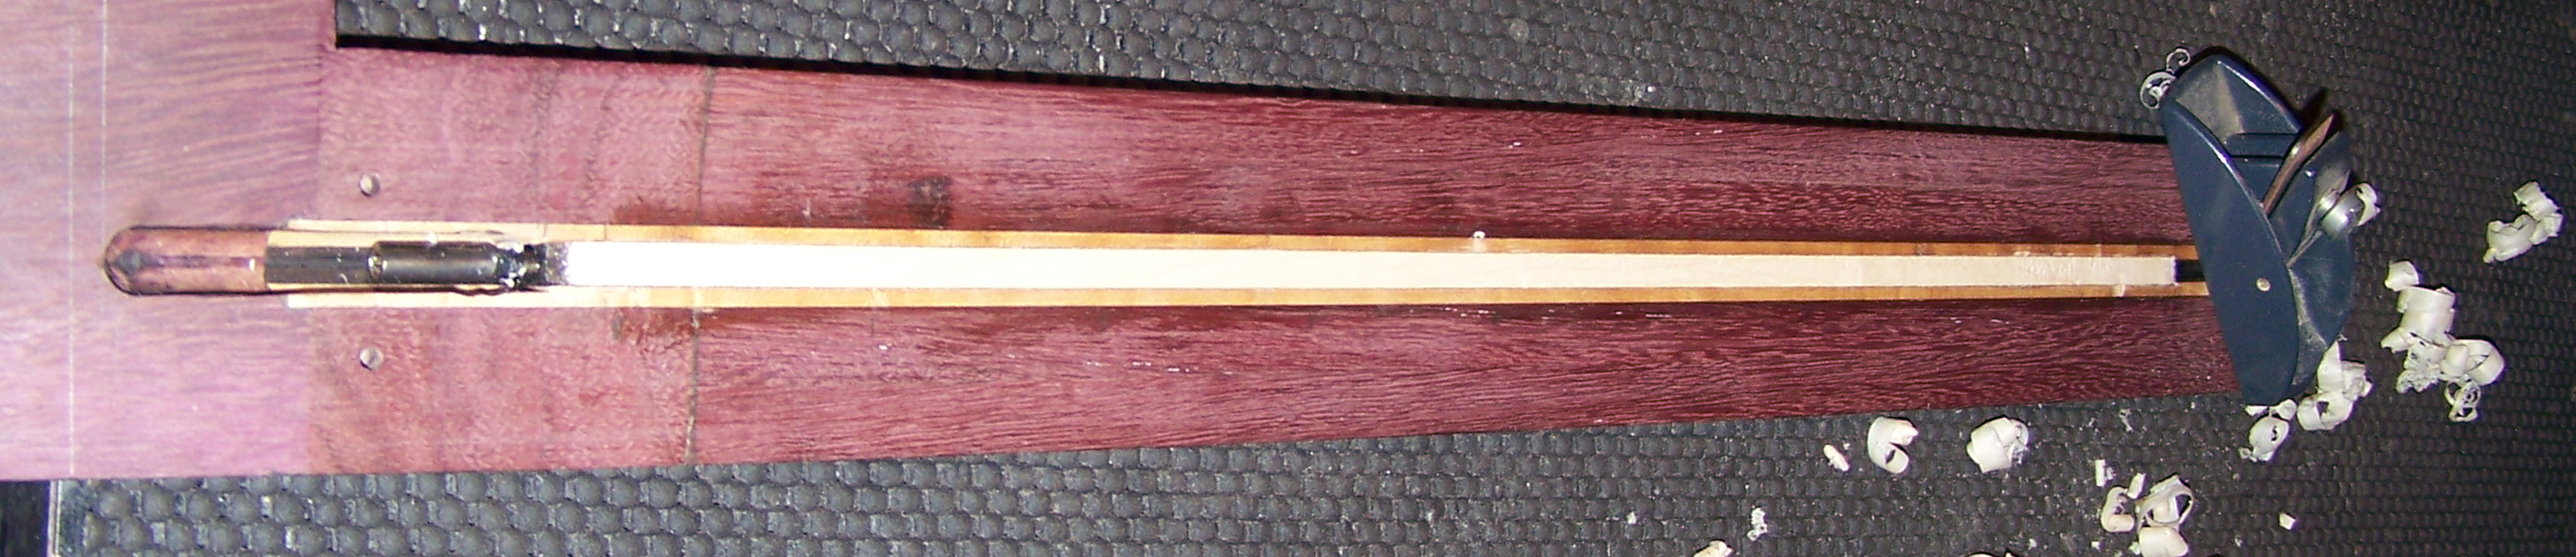
Here is the fingerboard after gluing it on and tapering.

Did I mention that I can change my mind on something mid build? Well I did: I was refining the fingerboard inlay and really got into it, soooooooo this is where it gets interesting for those who like details: The new design for the fingerboard inlays. To be honest it's going to be interesting for myself, as I don't have all that much practice at it, but non the less I designed an inlay that is quite challenging. No better way to get needed practice and refine ones skills, than to take on a big project! Flip the page to see more.