 A better neck angle:
So I take the neck off, and the first thing I notice is that someone had done most of what I had in mind for this instrument, just not quite up to my standards. That person used electrical tape to shore up the bridge, but it shrank and hardened, so the bridge moved anyhow. They used a brass nut, which I would have too, just with better brass and string spacing. All of the screw holes in the neck were partially stripped out from over tightening. One of the neck bolts is sticking out, because it was not screwed in all the way. With the neck off I find out why: One of the screws is longer than the rest and if it were screwed all the way in, it would have protruded through the fingerboard!
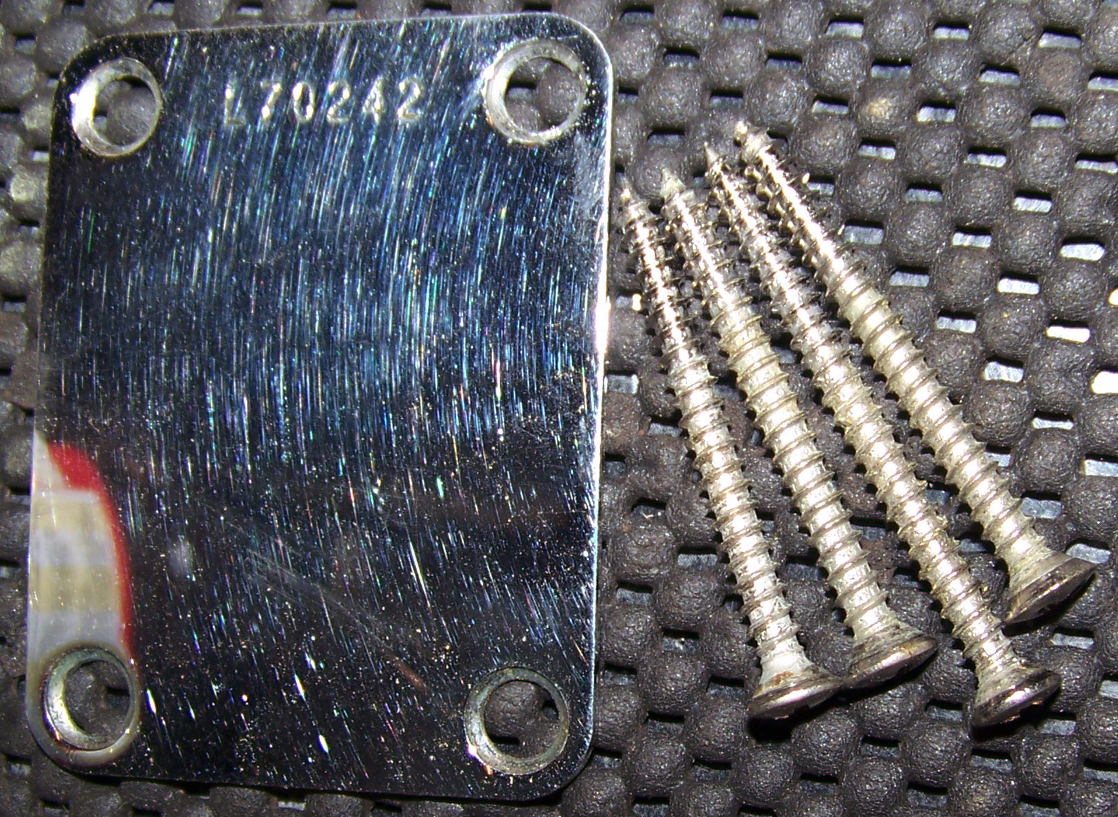
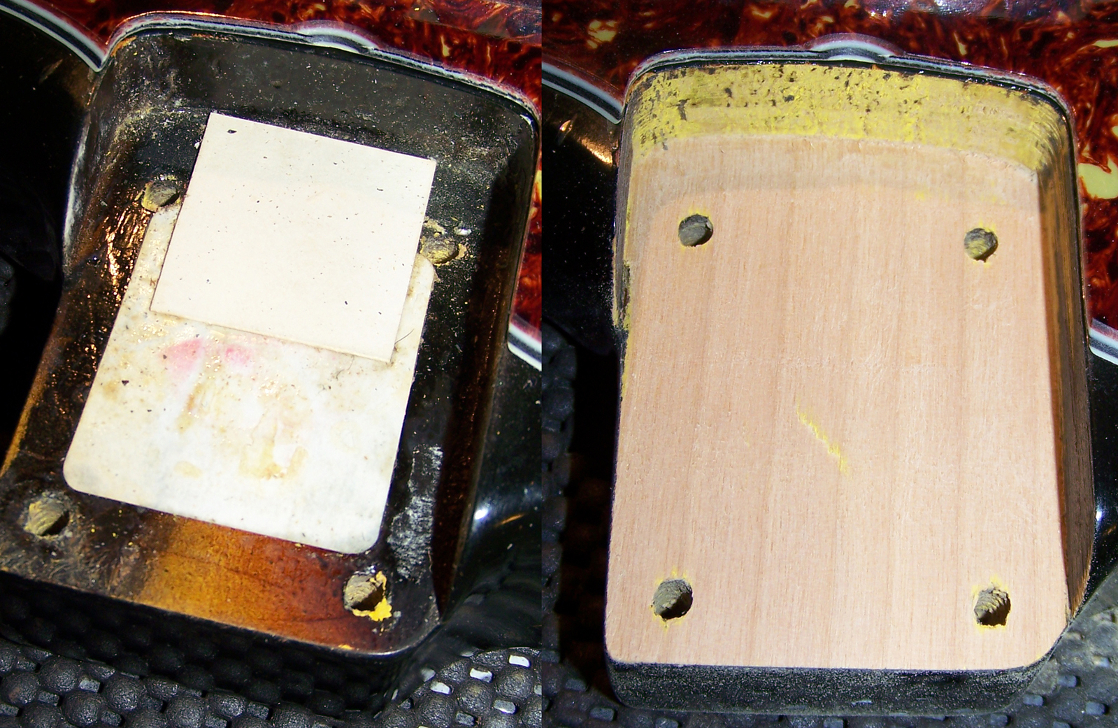
I find a sticker and a square piece of cardboard for a shim. Did I say I have High standards? Well I do, but for good reasons: One thing in guitar construction that makes a noticeable difference is a well fitting neck joint, the more contact surface the better. The sustain can suffer greatly if the base that the strings are anchored to isn't a solid uninterrupted mass.
Bolt on necks are already the bottom of the barrel, so shoving marshmallows in there as shims, doesn't make them any better! Cardboard although much stronger than marshmallows, is still not suited as a shim to tilt a guitar neck. No material will do a good job if it does not connect as much surface area as possible, The only good ways to make that happen is to either shave the heel or bottom of the neck pocket to the desired angle, or make a tapered shim out of sufficiently hard material that sandwiches between the heel and pocket with full contact. Since shaving the heel would require refinishing it, and shaving the neck pocket would entail having to go easy on it because of the lacquer surrounding it, a hard wood shim is the best choice.
First I take out the old shim, and prep sand the bottom of the neck pocket.
I know I show this procedure elsewhere on this sight, and you may think I must love doing it, but it is not that easy to rasp down hard maple, and it would be great if I could just buy a stack of these pre-made, and only have to adjust them, but no one sells anything like it. So here are the steps: Cut two or more pieces of wood to sizes needed to get the right thickness and angle, but not too much to keep the work load down, and glue them together.
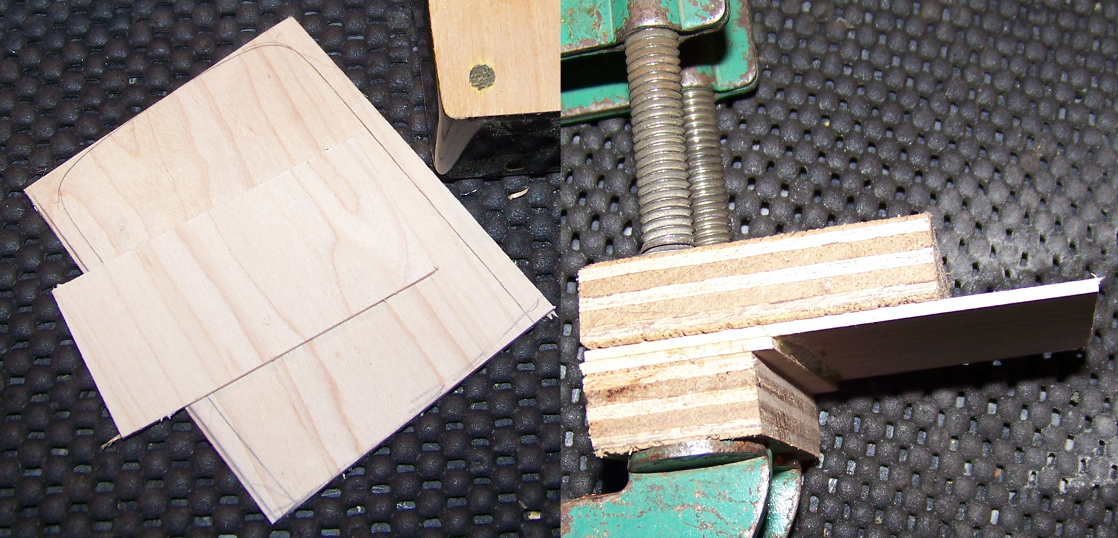
Tape them to a flat surface, and shape them into a wedge.
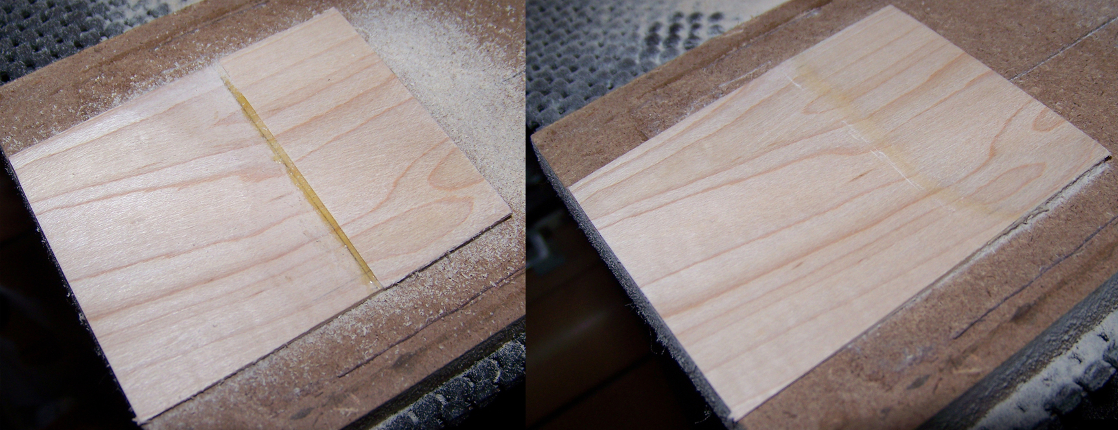
Fit the wedge to the neck pocket, glue it in and drill the neck mounting screw holes.
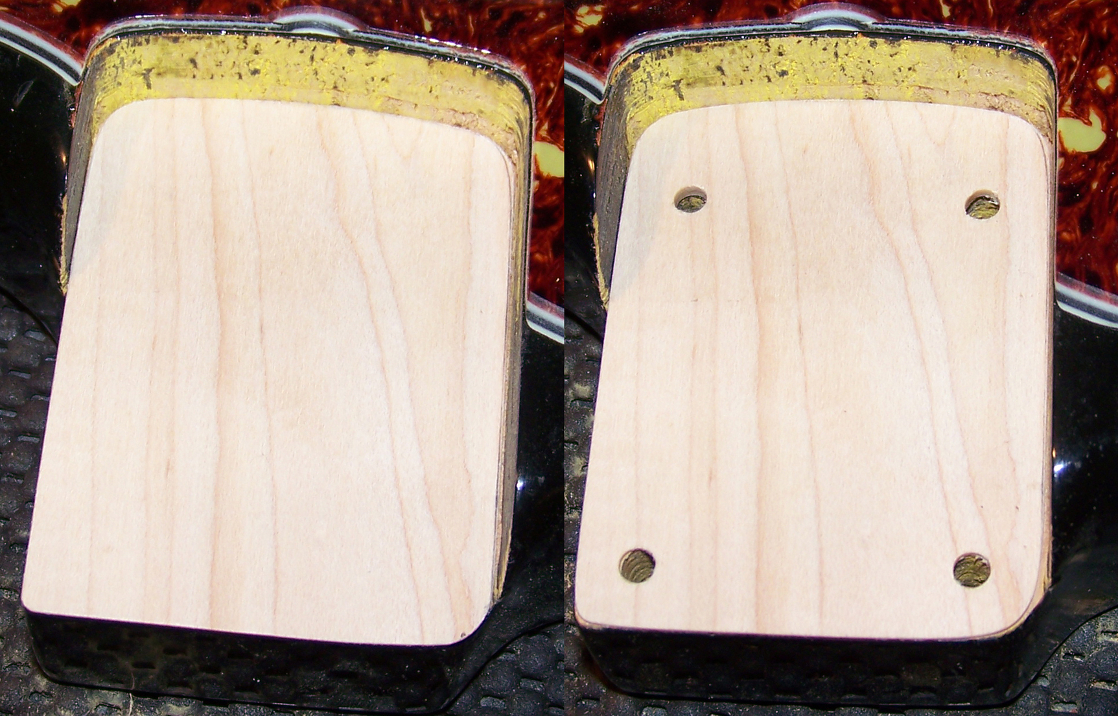
Adjust the shim to conform to the neck heel. Sometimes I can just screw the neck back in, but as in this case, I have to drill out, and close off the screw holes that were stripped with hardwood dowels.
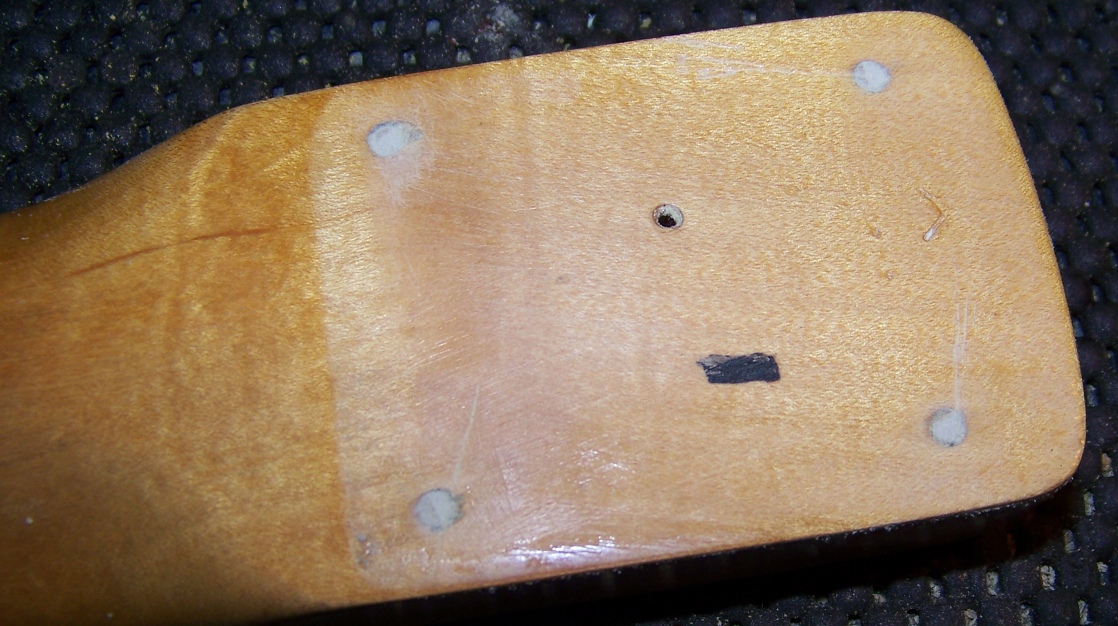
I drill new holes for the screws, and screw the neck back on. since one screw was too long, but the head matched the others, meaning it may have come from another guitar, I just took the access off filed it to a slight point like the others and tightened the neck down.
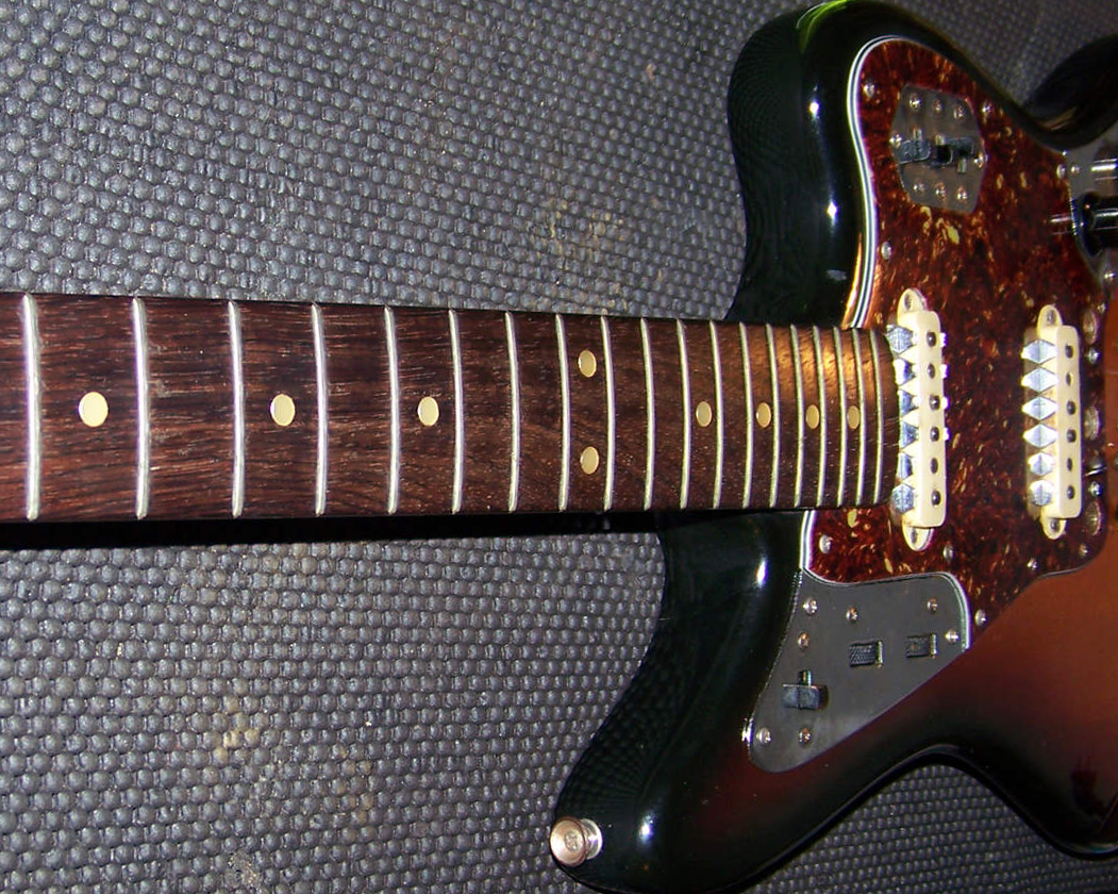
With the neck in place, and snug as a bug in the rug, all there was left to do was to restring it and set it up. The bridge had to be raised over 1/4", and that with the new saddles that were a tad taller. I adjusted the truss rod to set the action and then adjusted the saddles for intonation. I played some surf music on it to try it out, as Fender had marketed Jaguars to surf music bands. I went nuts on the tremolo, and it performed good enough that The Ventures may have traded one of their Moserite's for it! I was happy with the results and immediately got in touch with it's owner and sent it on its merry way. Not ten minutes after it was gone, I realized that I forgot to take some more pictures of it!