 Dead Pickup:
A guitar pickup consists out of one or more coils of wire that can be thinner than a human hair. Many pickup manufacturers have the thin wire wrapped around a grommet, just like the one I described in the last chapter, and the leads are soldered to the grommets and can easily be replaced, I thank them for it. Many pickup makers don't use grommets, as in the case of Seymour Duncan, and the "Hot Rail" that I have in the first guitar I ever built for myself called New Home Planet.
Just recently I was mashing the strings against the pickup and making crazy noises with a large chain of effects, when the pickup lost a little volume, and the noise level went up. Apparently the humbucker (switched to parallel mode) became a single coil.
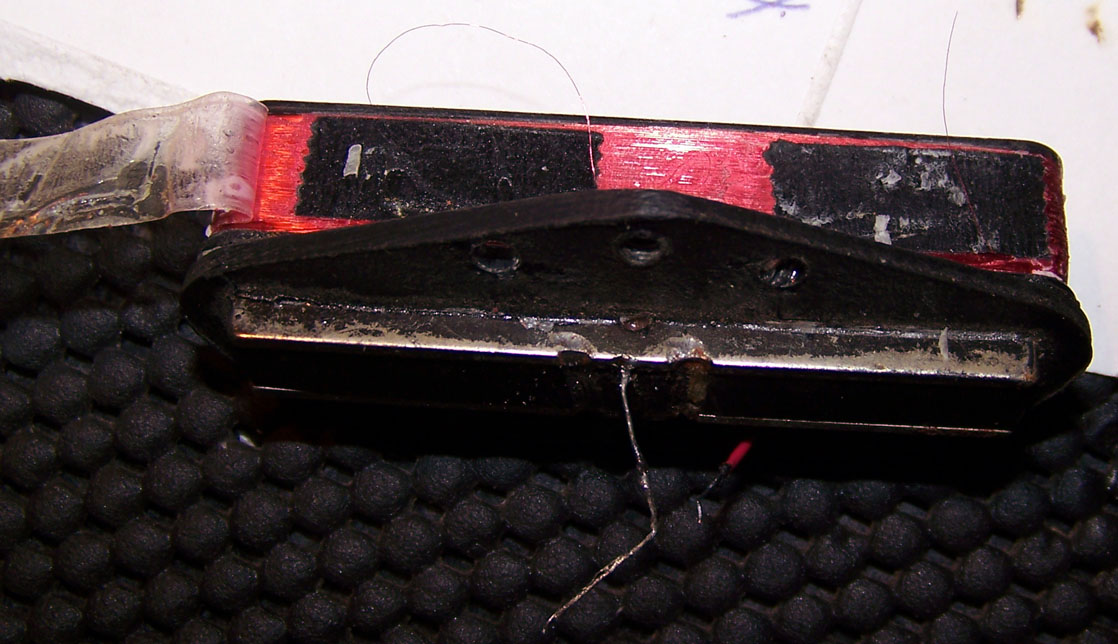
When I took it out of the guitar, I could clearly see that the green lead had come out from underneath the cloth tape and shielding, as it was hanging there all by itself. Most people would throw it out, which is a good idea, as the cost to repair it can far exceed the price of a new one, because it's a tedious and time consuming job. If one of those fine wires going to the inside of the coil breaks, then it will very likely need to be rewound altogether. This was not the case, so I decided to fix it just to take on the challenge. Those super thin wires can break just from looking at them the wrong way!

First I had to undo the cloth tape, and the adhesive was dried out making it unusable. Underneath that there was a layer of copper shielding, and I had to remove the ground wire from it and unsolder it from itself to peal it off. Below that were a few windings of thin sticky tape that I also had to remove in order to get to where the coil wires were soldered to the leads. Even though I was as careful as can be, the black wire came undone too as I had to expose it to get to where the green one had to go. Then on closer inspection I could see that the white wire was dangerously close to the edge of the bobbin, and it too could come off all to easily, and at any time. The only wire that was safe was the red one.

I carefully lifted enough of the coil wire up to make a connection, sanded off the lacquer insulation with 2000 grit sand paper, wound it around the lead, soldered it back on, and secured it with shrink tubing. I did that for each of the three leads that I replaced, taking a break after each one to calm my nerves. I wound a tight few layers of electrical tape around the two coils, reattached the shielding and ground wire and then another two windings of electrical tape.

After all of that tedious stuff I checked to see if the coils worked, and viola', they did. I then proceeded to install the pickup into the guitar, and here it is:

After that I played it for a while, and realized that I had never hooked up the push pull switch of the volume pot after taking out the burned out preamp I had in there when I first built it. This brings me to the next chapter.
 Test Bed Rewire:
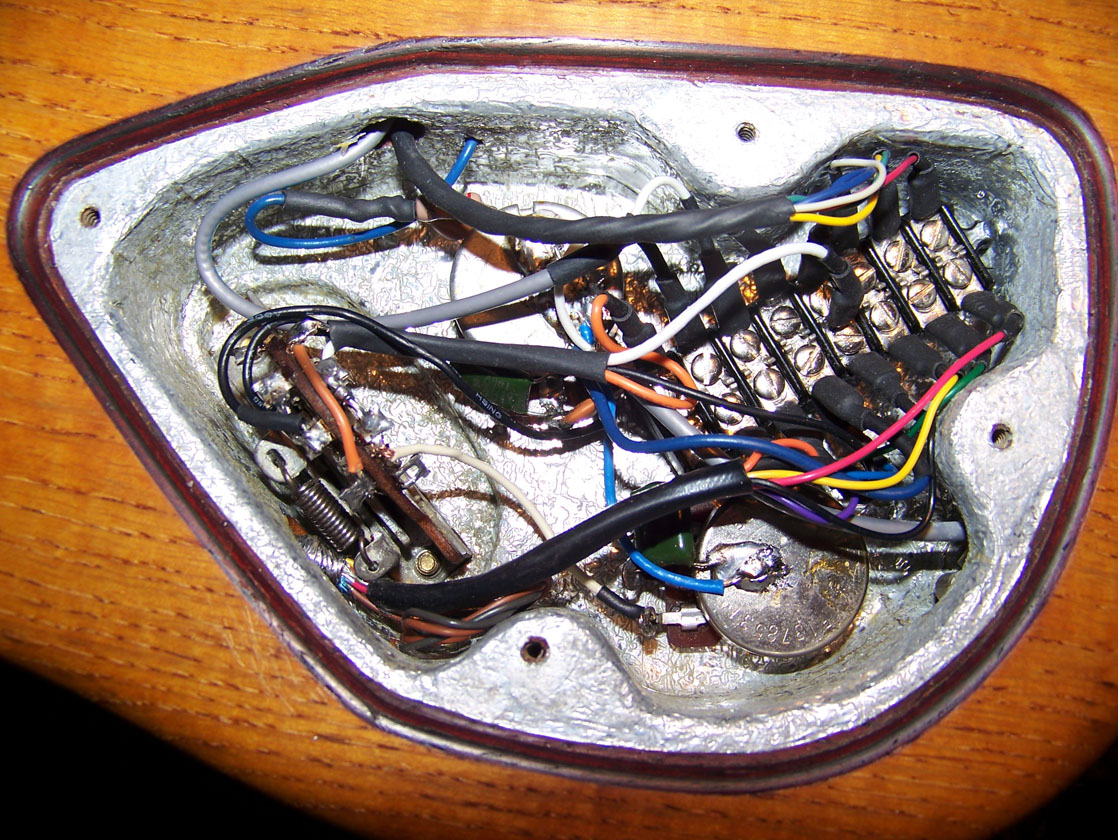
In order to figure out which pickup switching combination I wanted, and to be able to change it easily in the future on a whim without having to re-solder a bunch of wires, I installed a connector strip into the guitar and crimped screw on terminals to the pickup and all wires of the circuit. I also ran a cable to the separate cavity housing the volume pot and switch combo, with a wire for every contact, so I can change the switch wiring at the terminal block too. Finally I figured out how I wanted to switch everything, and made all the right connections to do so:

