here's the first one:
Bust a nut:
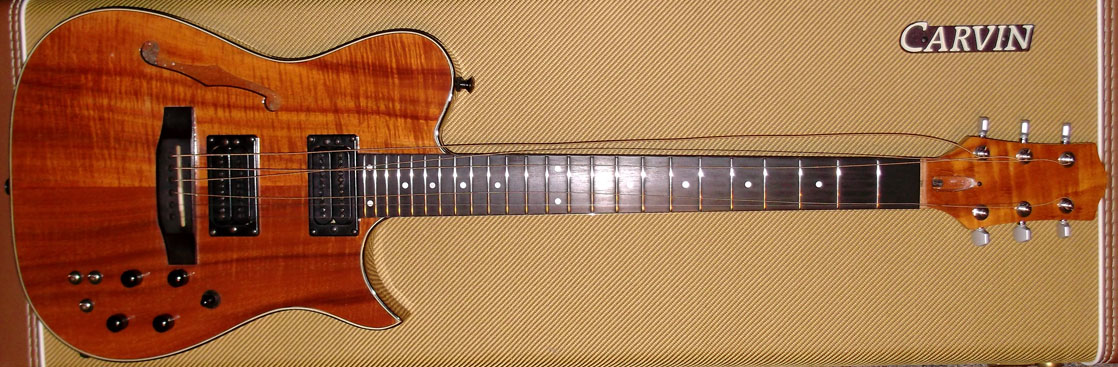
This Carvin was loaned out by its owner, and came back with work done to it, that was not asked for. The lender, had stripped and re-lacquered it for reasons unknown, and then installed a new nut, cockeyed and with an unnecessary large amount of the wrong type of glue. The owner bought a new pre-made nut and installed it, but the string spacing was wrong. When he saw my add, he decided to have me do the work, and I gave him the option of a material of choice, and he opted for brass. Look at this gorgeous instrument:
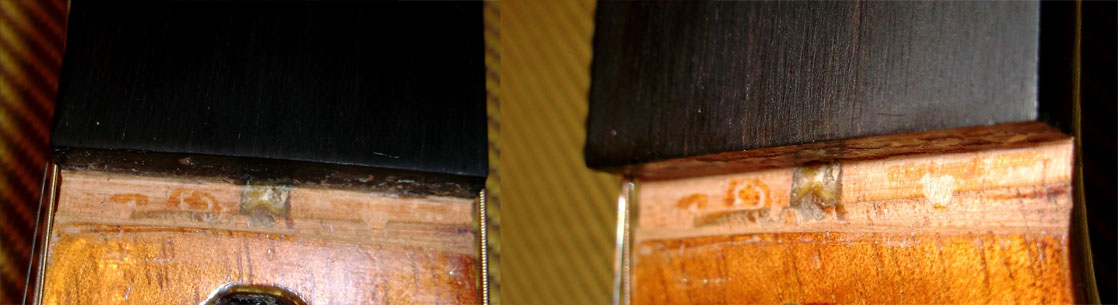
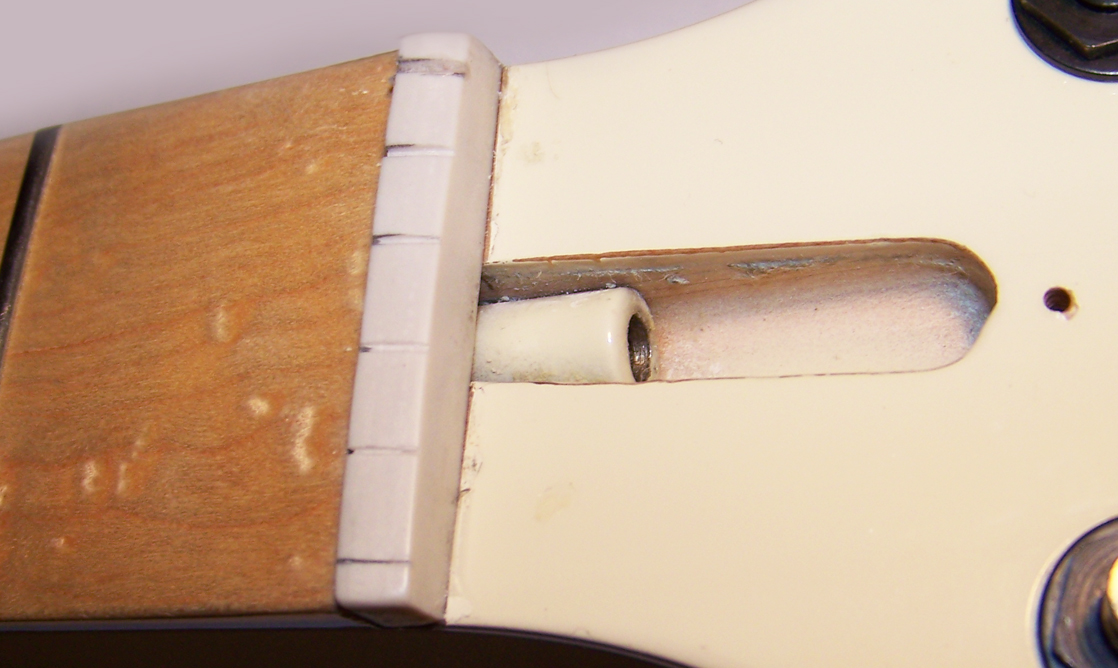
When I inspected the guitar to see what I was dealing with, I saw that besides an inordinate amount of glue being used, the recess was cut out way deep, wide and crooked. When fitting a nut, one is supposed to cut the string grooves to depth, not the recess for the whole nut, potentially weakening the most vulnerable part of the headstock. Look below, see what I mean?
Straight n' square:
the first order of business was to remove the glue, square off the recess and widen it where narrow, to have the recess run in a straight line. After the procedure, it was apparent just how wide the recess was by the time it was finally straight. Here is what it looks like ready to install the nut, notice how some of the koa headstock veneer is showing in the recess. I made the recess square to the fingerboard, but did not want to go any deeper than I had to, so I had to leave a slight sideways angle and some run off near the edges, as it was filed convex. The bottom of the resulting recess is 95% flat.

The making of the nut:
I Started with a 3/16" piece of brass that I sawed from sheet stock, and then filed to a rough shape, and squared it off precisely. After that I laminated a few pieces of ebony and maple to it in order to make it thick enough to fill the wide recess (I have no koa). I also cut a recess out of the veneered part of the nut, to accept the truss rod cover, which only has one hold down screw. The recess is just tight enough to keep a little tension on the truss rod cover, so it can not rattle around.
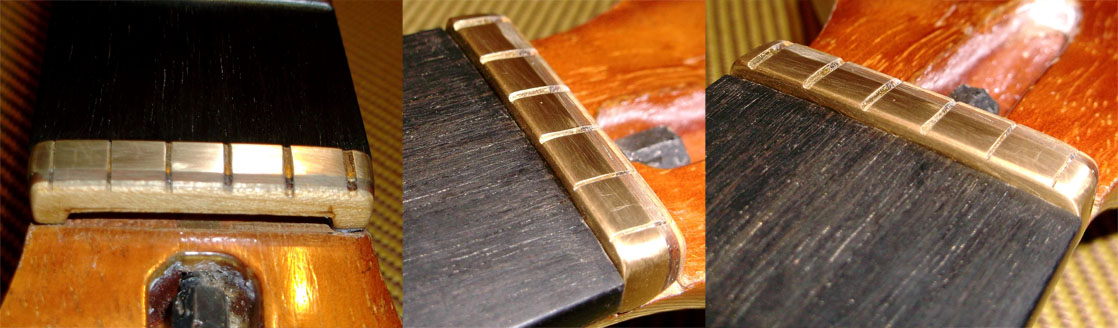
I shaped the nut to fit into the recess in width and length, pre-notched it for the strings, and put it where it belongs, using string pressure to hold it in place. I cut the string grooves precisely and polished them out to prevent the strings from binding. I took the nut off, and filed it to its final height, and finished it down to a fine polish. I gave the wood portion a few coats of polyurethane and a quick polish prior to mounting it, and this is what the above looks like:
The last step:
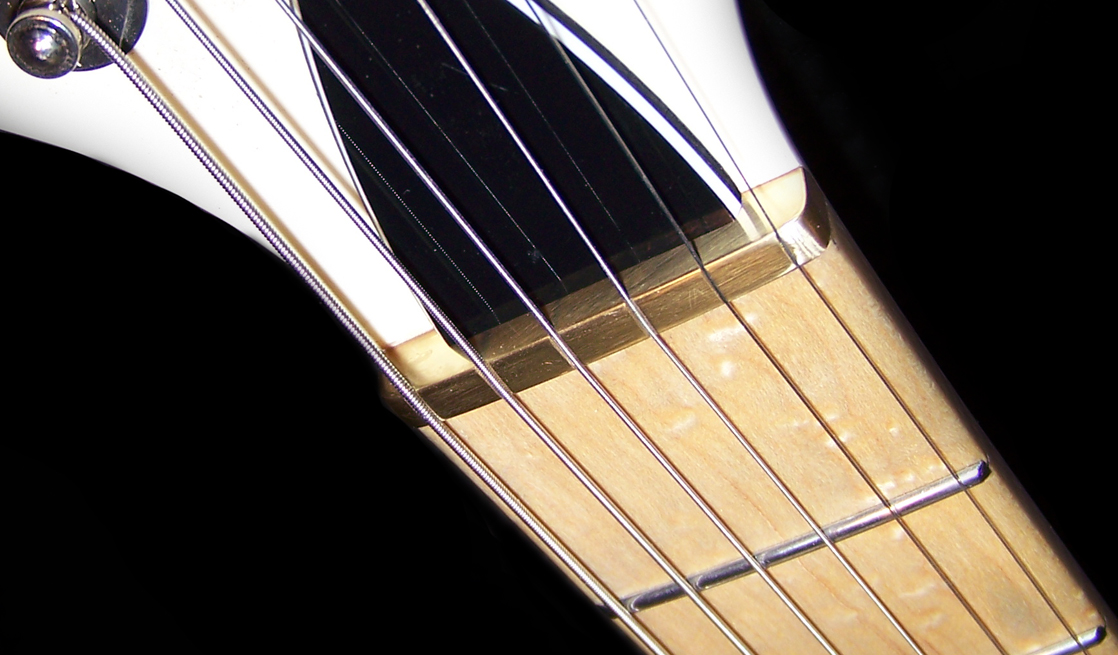
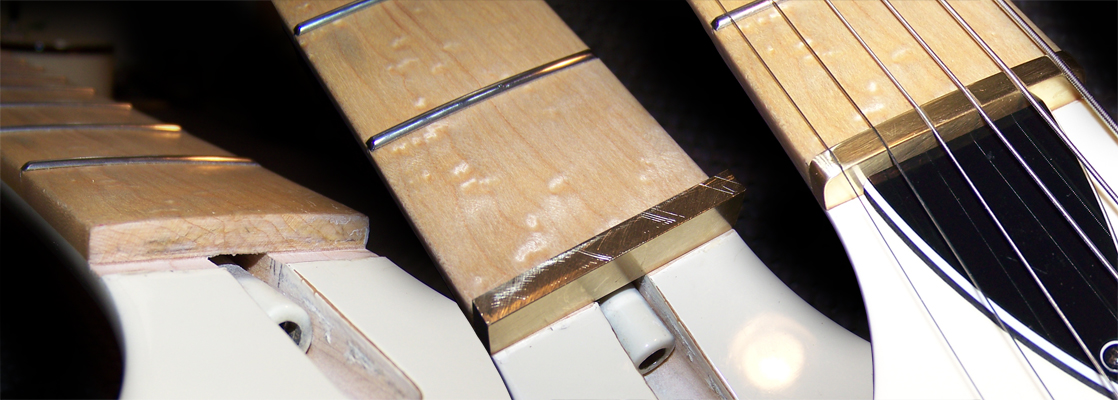
For the last step, I mounted the new nut using a tiny amount of superglue, so it can be removed with ease some day down the road, if the need arises. I restrung the guitar, tuned it, and played a tune, or two. This is what the finished job looks like:
A few notes on this guitar:
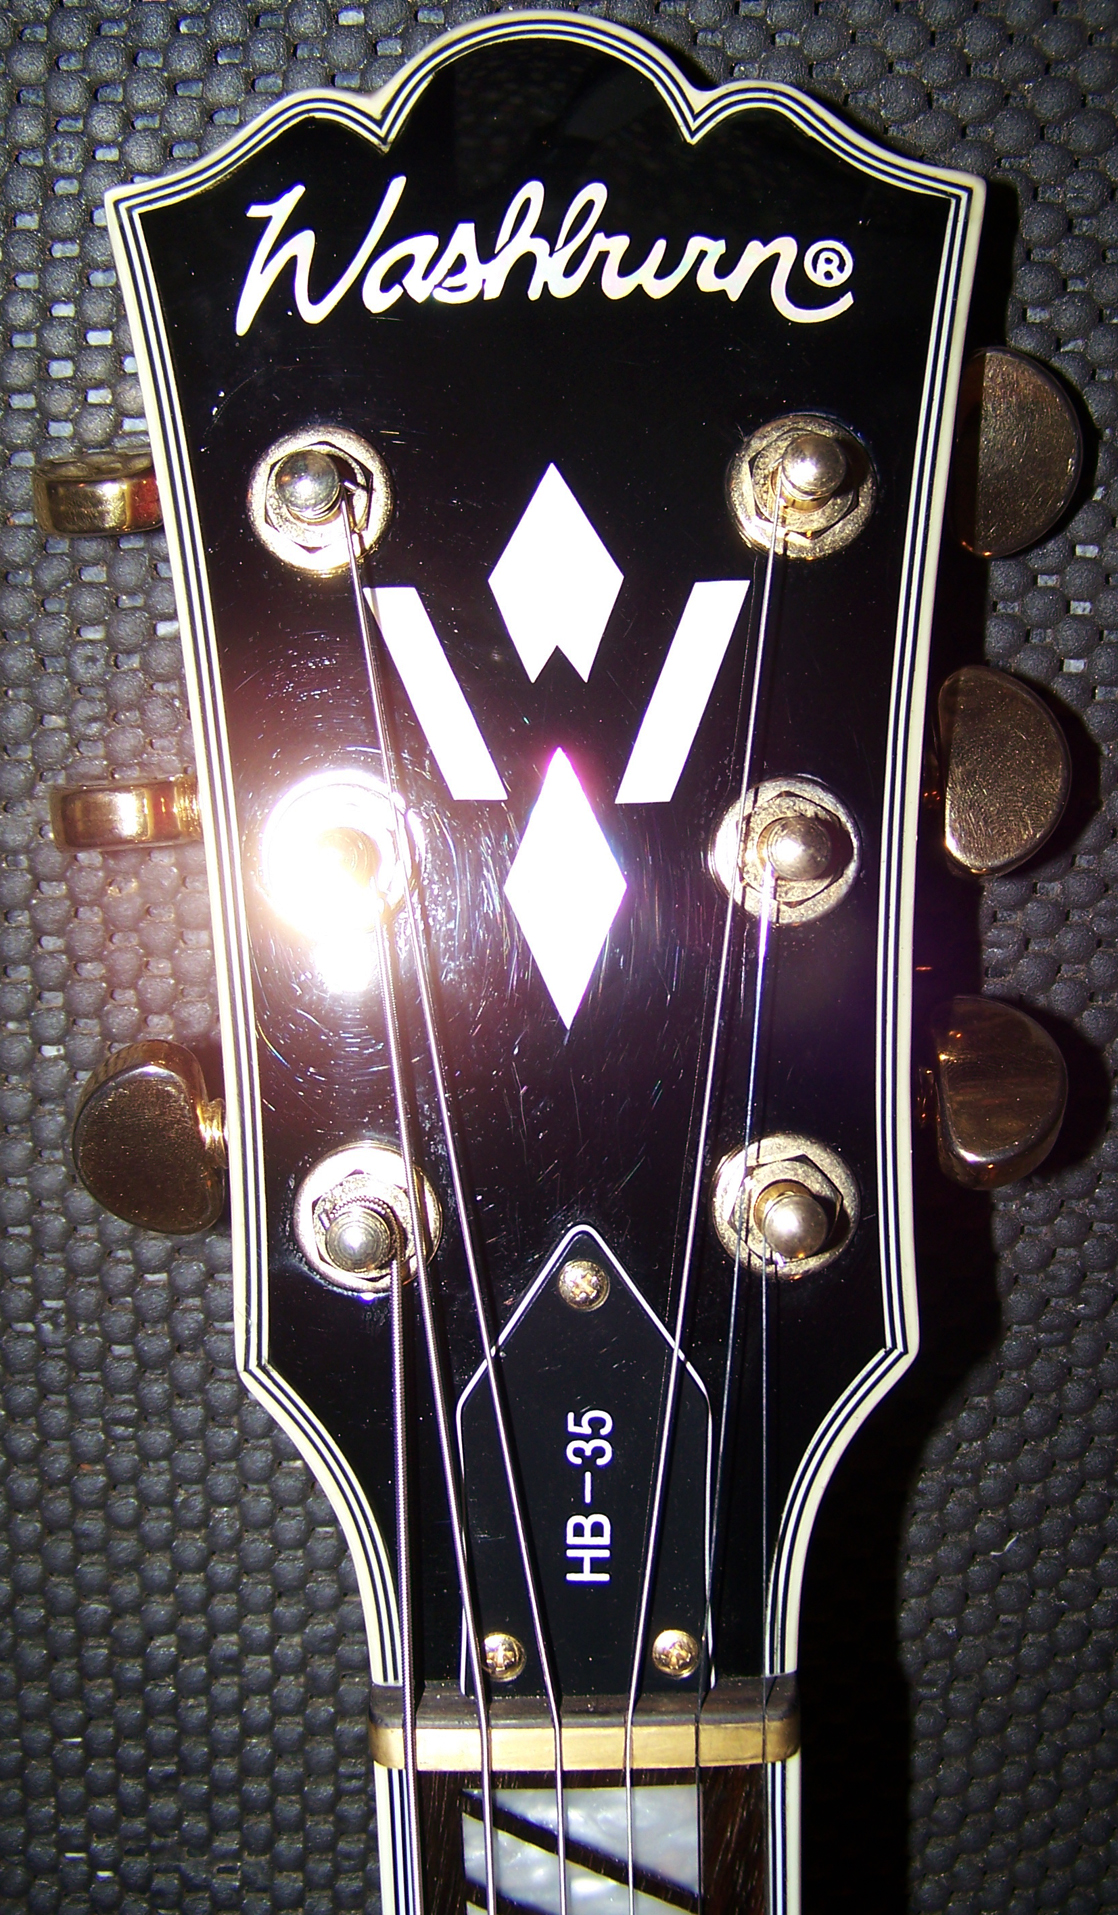
I am not used to seeing a good brand name guitar without a logo, model, serial number, or other significant markings somewhere on it. I can imagine that the logo was a water decal that was sanded off with the old finish, prior to the new lacquer job. The beautiful koa top is only a thin veneer, and was sanded down to the glue line at the point of the lower horn, most likely during the re-finish. The fingerboard and frets are very accurate and the action is very low.
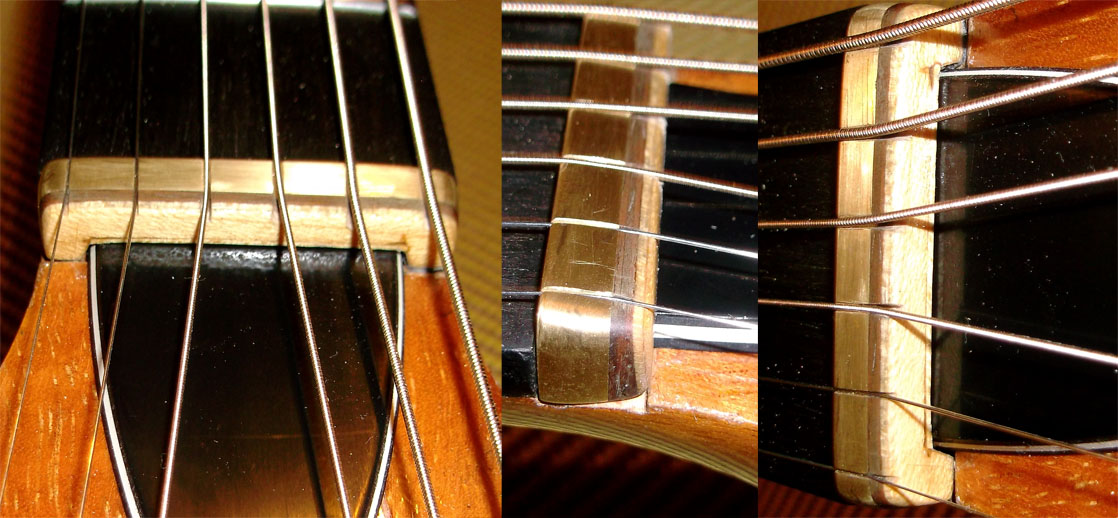
This is a brass nut I made for a Washburn:
Here's another Carvin:
This is a shot of the old nut, which in reality was a new nut installed by the same guy that also managed to mess up the tuners. You can see what I mean here. The owner complained that the high E string was a little to close to the edge of the fingerboard, and the string spacing way off. He was supposed to get a nut made of corian, which because of its density and hardness is good nut material. When I removed it, I could easily tell that it was just cheap plastic. And as you may be able to plainly see, the string spacing does not look right:
More on that later. Here is a picture of a few of the stages in making the new one, the first shows the nut recess prior to removing the old glue and squaring it. Oops, I forgot to take a picture of the cleaned and squared recess! The rough fitted nut, and the finished nut:
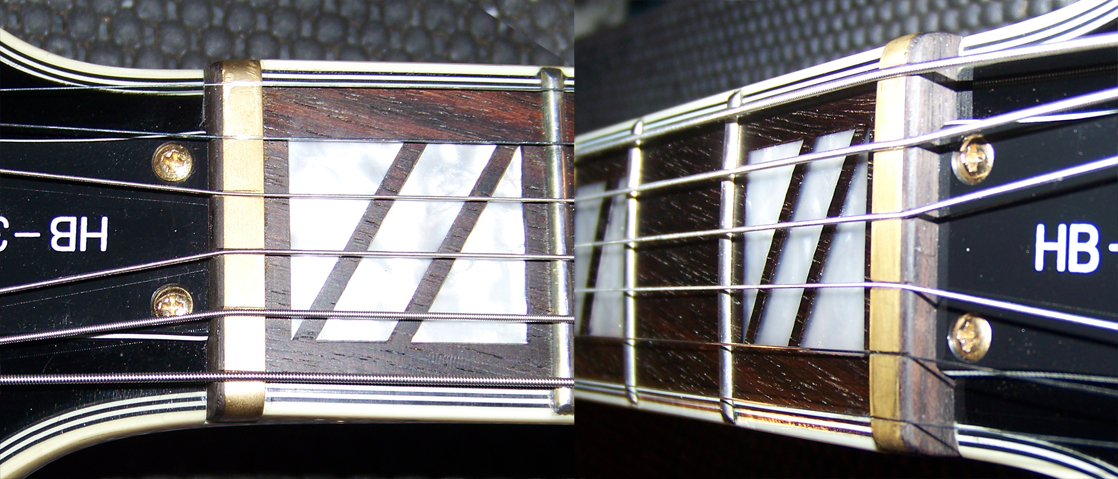
Old and new nut for comparison of the string spacing. Mine is accurate to within a few thousandths of an inch, measured from string edge to edge:
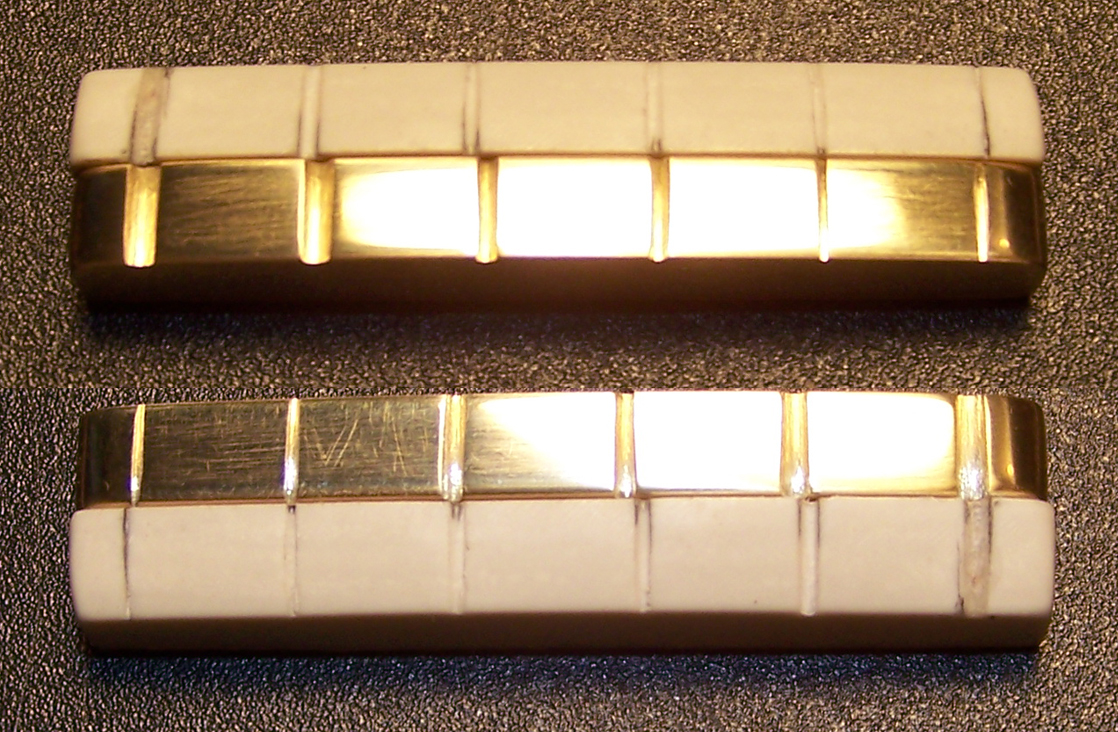
Compare the string spacing, see the difference?
Here is a dramatic view and closer look at the finished nut: