Where to begin?
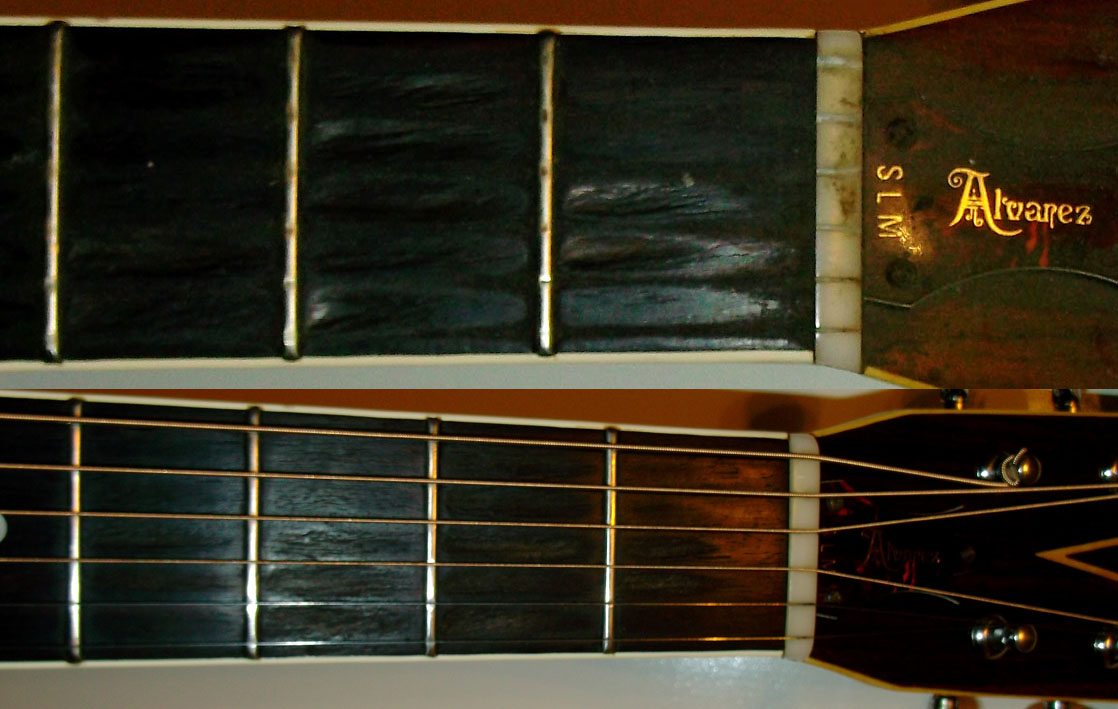
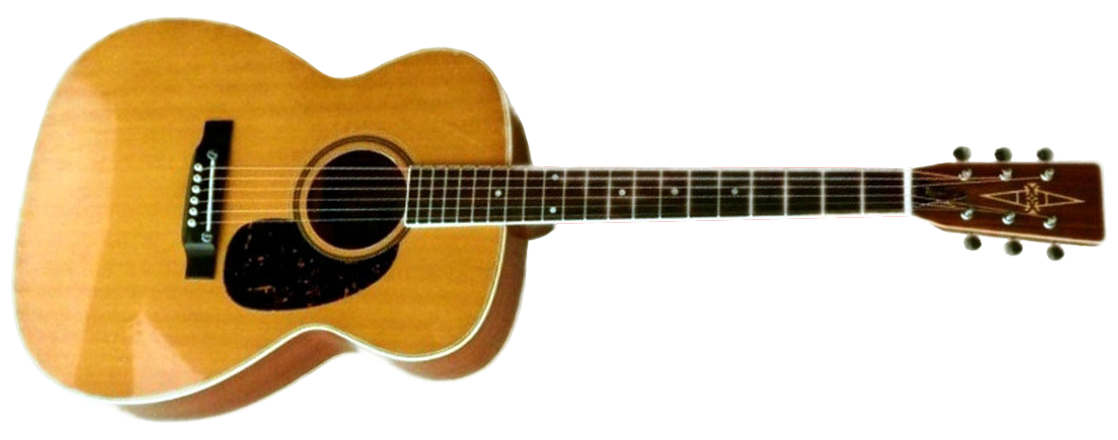
Here I get to work on an Alvarez Model No. 5047 It is supposed to have a date stamp on the tag in the sound hole, but it is missing, along with the inspectors Number or initials. From its construction as compared to the same model over the years, it was made between 1975 and 1979. Here is a shot of a new one from an old catalog:
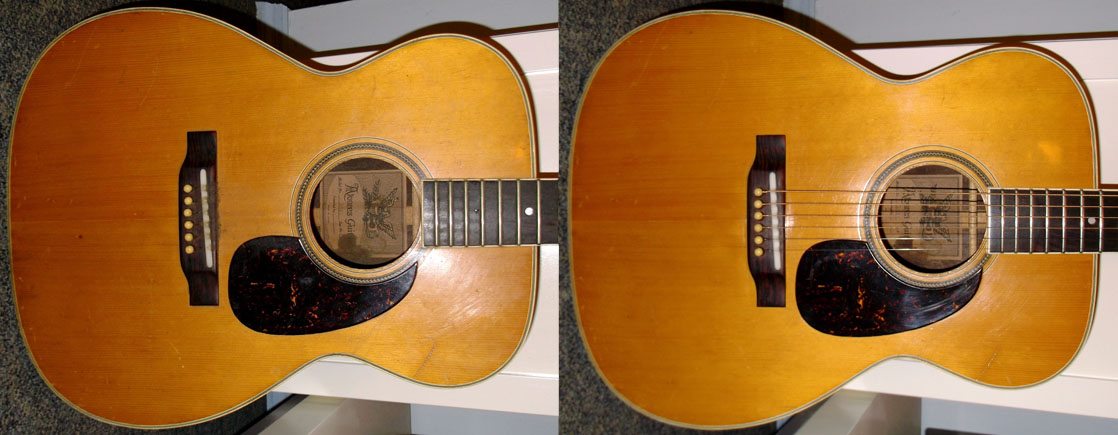
The one I have here is owned by a good friend of mine, and originally had a plastic nut and one of those adjustable saddles consisting of a notched metal bar with two thumb screws, but I replaced them around 8 years ago, with a new nut and a one piece non adjustable saddle, both made of corian, as the top had warped to the point where the saddle could not be lowered enough to restore a playable action. Before I replaced the saddle the instrument sounded really good, afterwords it sounded great, but that is a different story which I describe here.
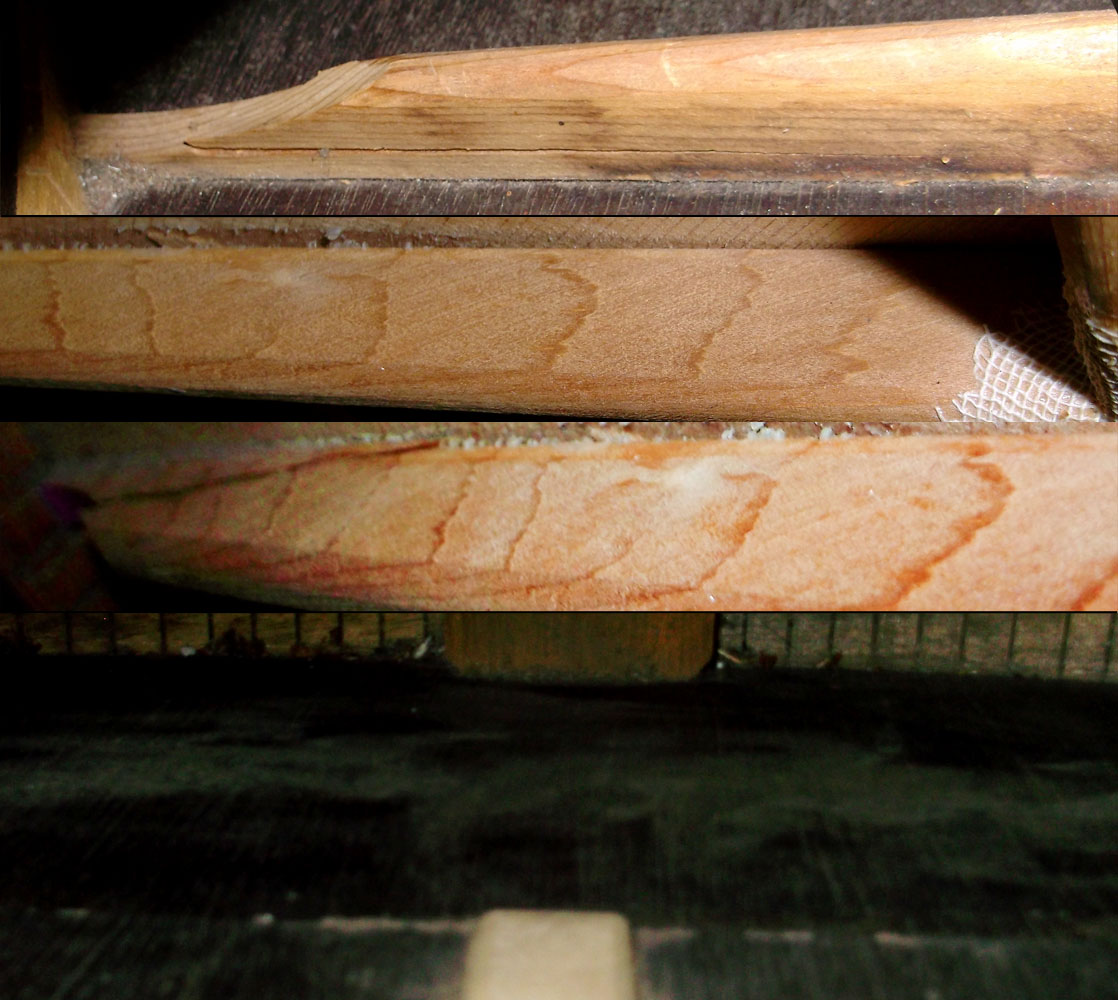
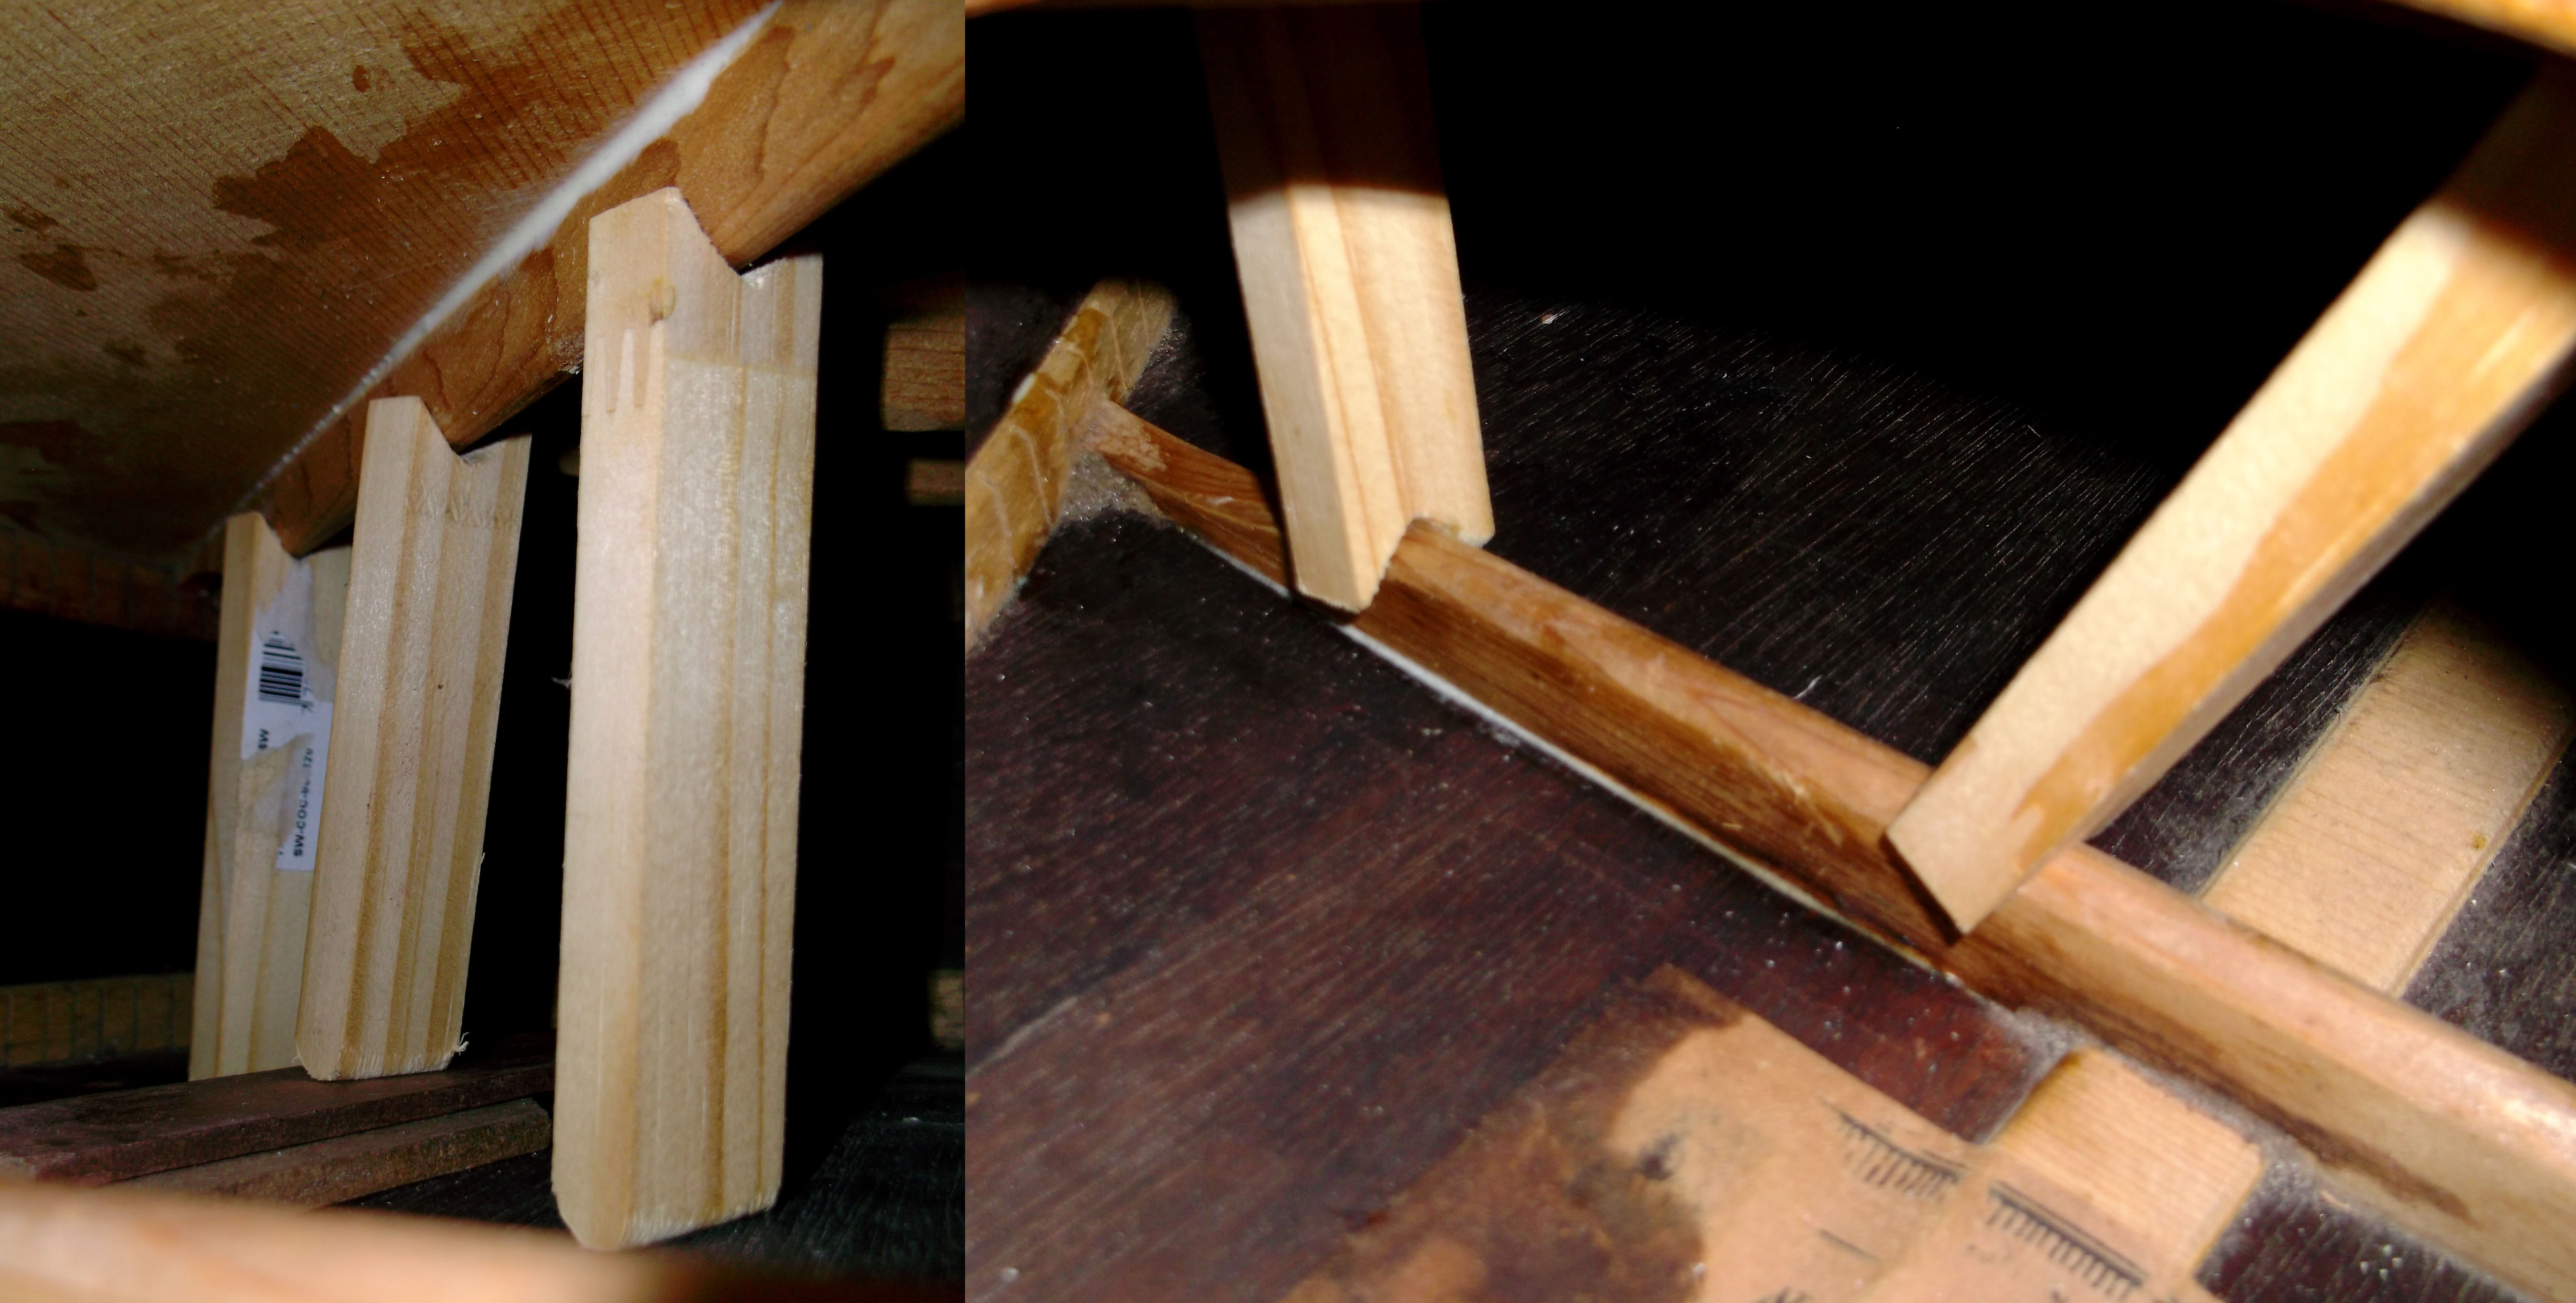
This time It has different problems, as two of the braces are cracked, one is missing altogether, and of course the top is bulged out even further. Add to that a large portion of the back came unglued around the upper rear bout. All of the wood is dry as a bone, the fingerboard and the whole inside, yet it has no cracks in the top, sides or back. There is some damage on the back where the edge of the end block is, indicative of a major blow. Here are some pictures of the braces, on top is the back brace that runs across underneath the bridge. The two center shots are of the top cross brace that runs from in front of the bridge, to the lower rear bout, it came unglued and cracked at the end. The last one is of the place where there was a brace, but is no more. Some of the glue is left indicating where it once was, which reminds me why I hate hide glue so freakin' much.
The surgery:
Gluing the cross brace back to the top was the most difficult, because there is no way to see it, and I had to go by feeling to apply the glue, smearing it into the crack and then applying the brace jacks I made. After that I had to wipe off the squeezed out glue and wait for it to dry and cure. The cracked bottom brace was much easier to fix using the same procedure, here are the pictures of the process.
The part You can not see is how I sandwiched the guitar between some boards with clamps, to keep the top and bottom flat during the brace gluing. Doing so also helped take out some of the bulge in the top, when gluing the cross brace down.
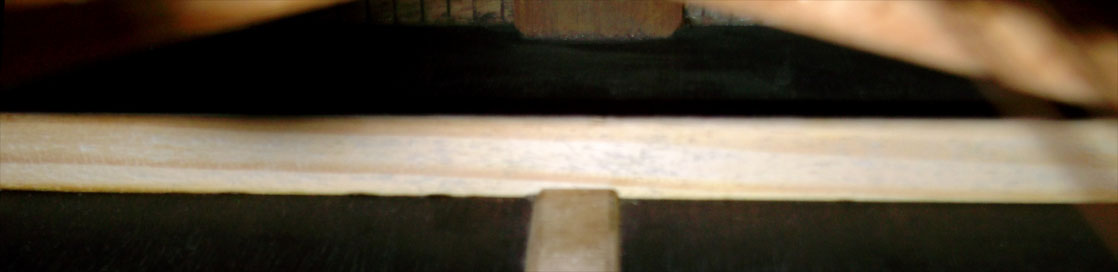
The missing brace could not be found, so I made a new one. Unlike most of the braces in this guitar, it has the wood grain running through its entire length, as good braces should, making it much stronger. Here it is:

Once again I used the brace jacks I made to clamp it down for gluing, and waited patiently for it to dry and cure. This is what it looks like in its new home:
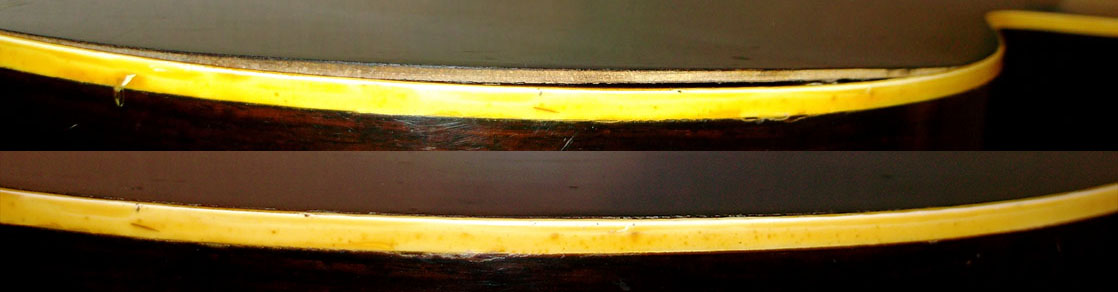
After the work to the braces it was time to glue the portion of the back, back to the side. Check this before and after out, ouch!
Once that was done, I just had to string it up, bring it to concert pitch and set it up. I had to loosen the truss rod slightly, which is always preferred to having to tighten one. As I had hoped and aimed for, the action was much better, actually it was near perfect, and the intonation was right on too, where I had set it eight years ago. This instrument is a copy of a Martin 000-28, and I would not be surprised if it sounds just as good or even better. Here are a few more before and after photos of it.